With the popularity of solar power, more and more homes and businesses are considering installing solar systems. However, for first-time Solar mounting system installation geeks, the whole process from purchase to installation can be confusing. This article will provide you with a detailed Solar mounting system installation strategy to help you get started easily.
I. Basic knowledge of Solar mounting system
1. What is Solar mounting system?
Solar mounting system is a structural system used to support and secure solar modules to ensure that they receive sunlight at an optimal angle, thus increasing the efficiency of power generation.
2. Types of Solar mounting system
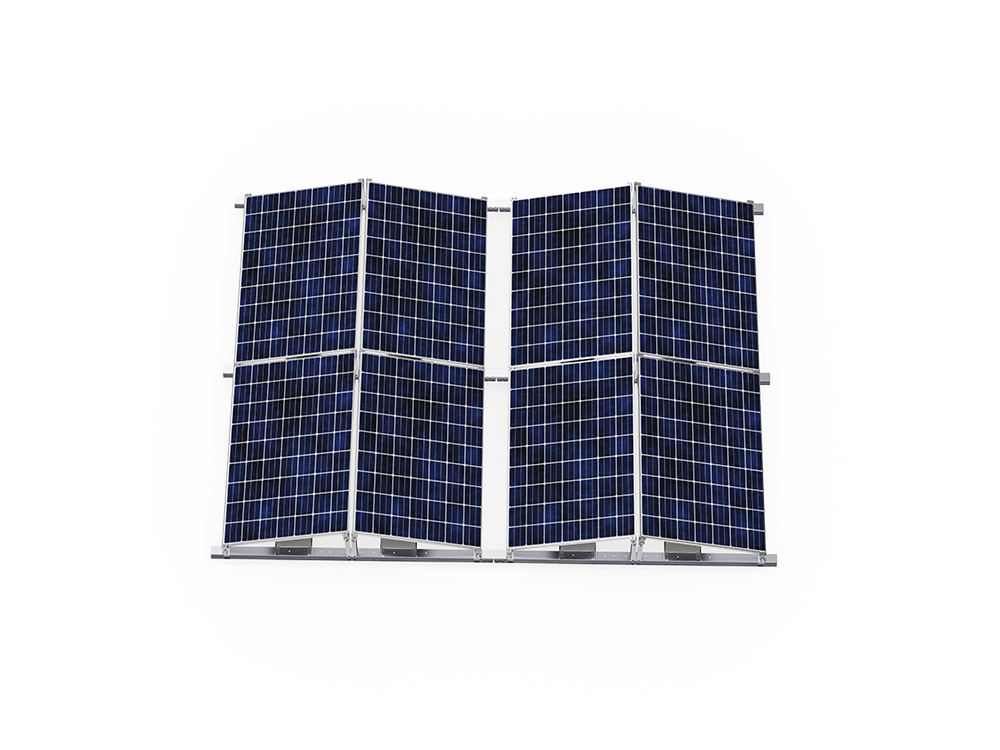
Fixed mount: The mounting angle is fixed and is suitable for areas with stable light conditions.
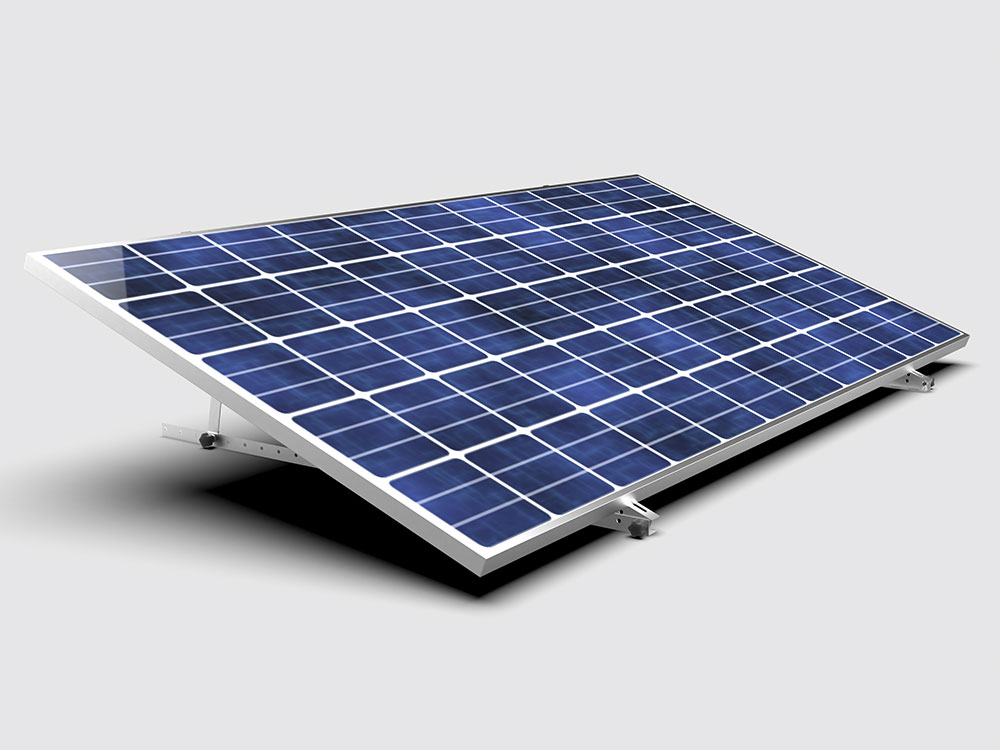
Adjustable bracket: the angle can be adjusted according to the season and the sun’s altitude angle, suitable for areas with large changes in lighting conditions.
Tracking bracket: It can automatically track the sun’s position and maximize the power generation efficiency, but the cost is higher.
II Guidelines for purchasing Solar mounting system
1. Determine the installation location
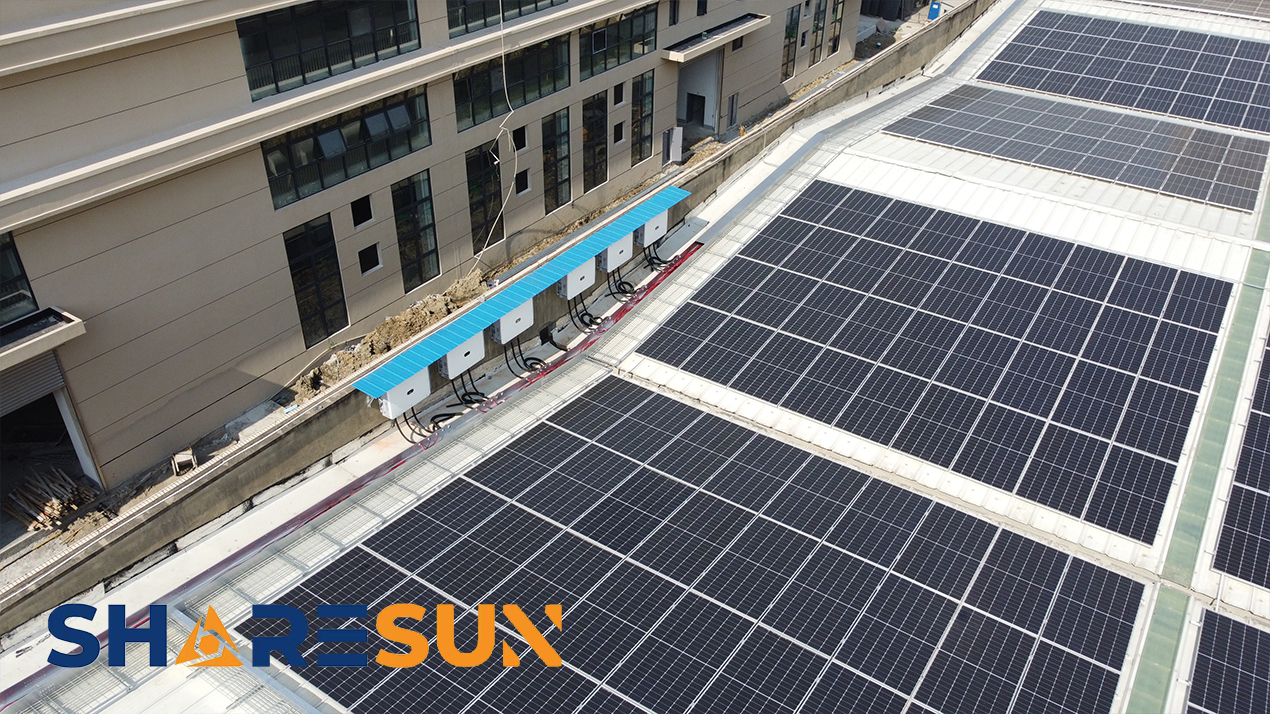
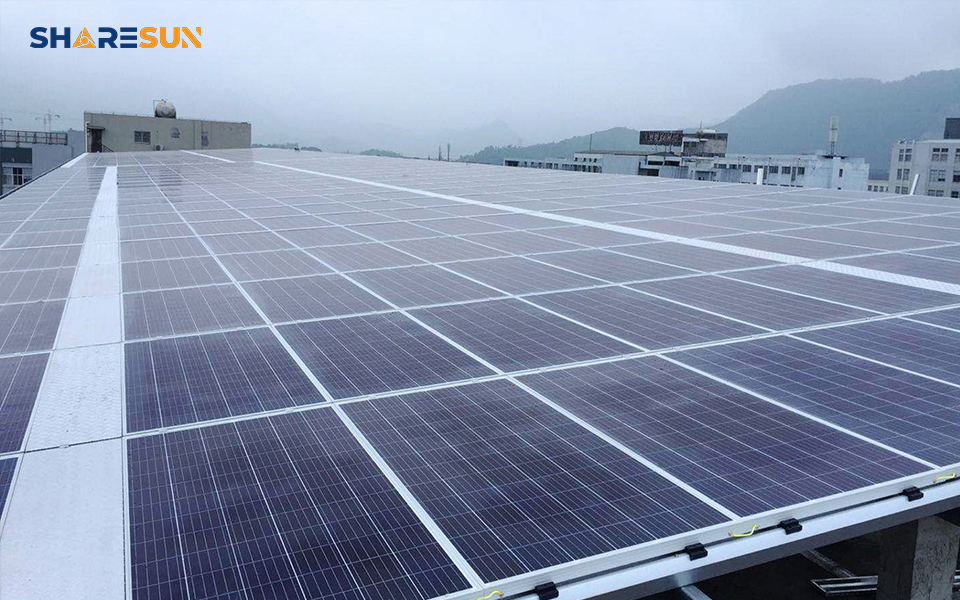
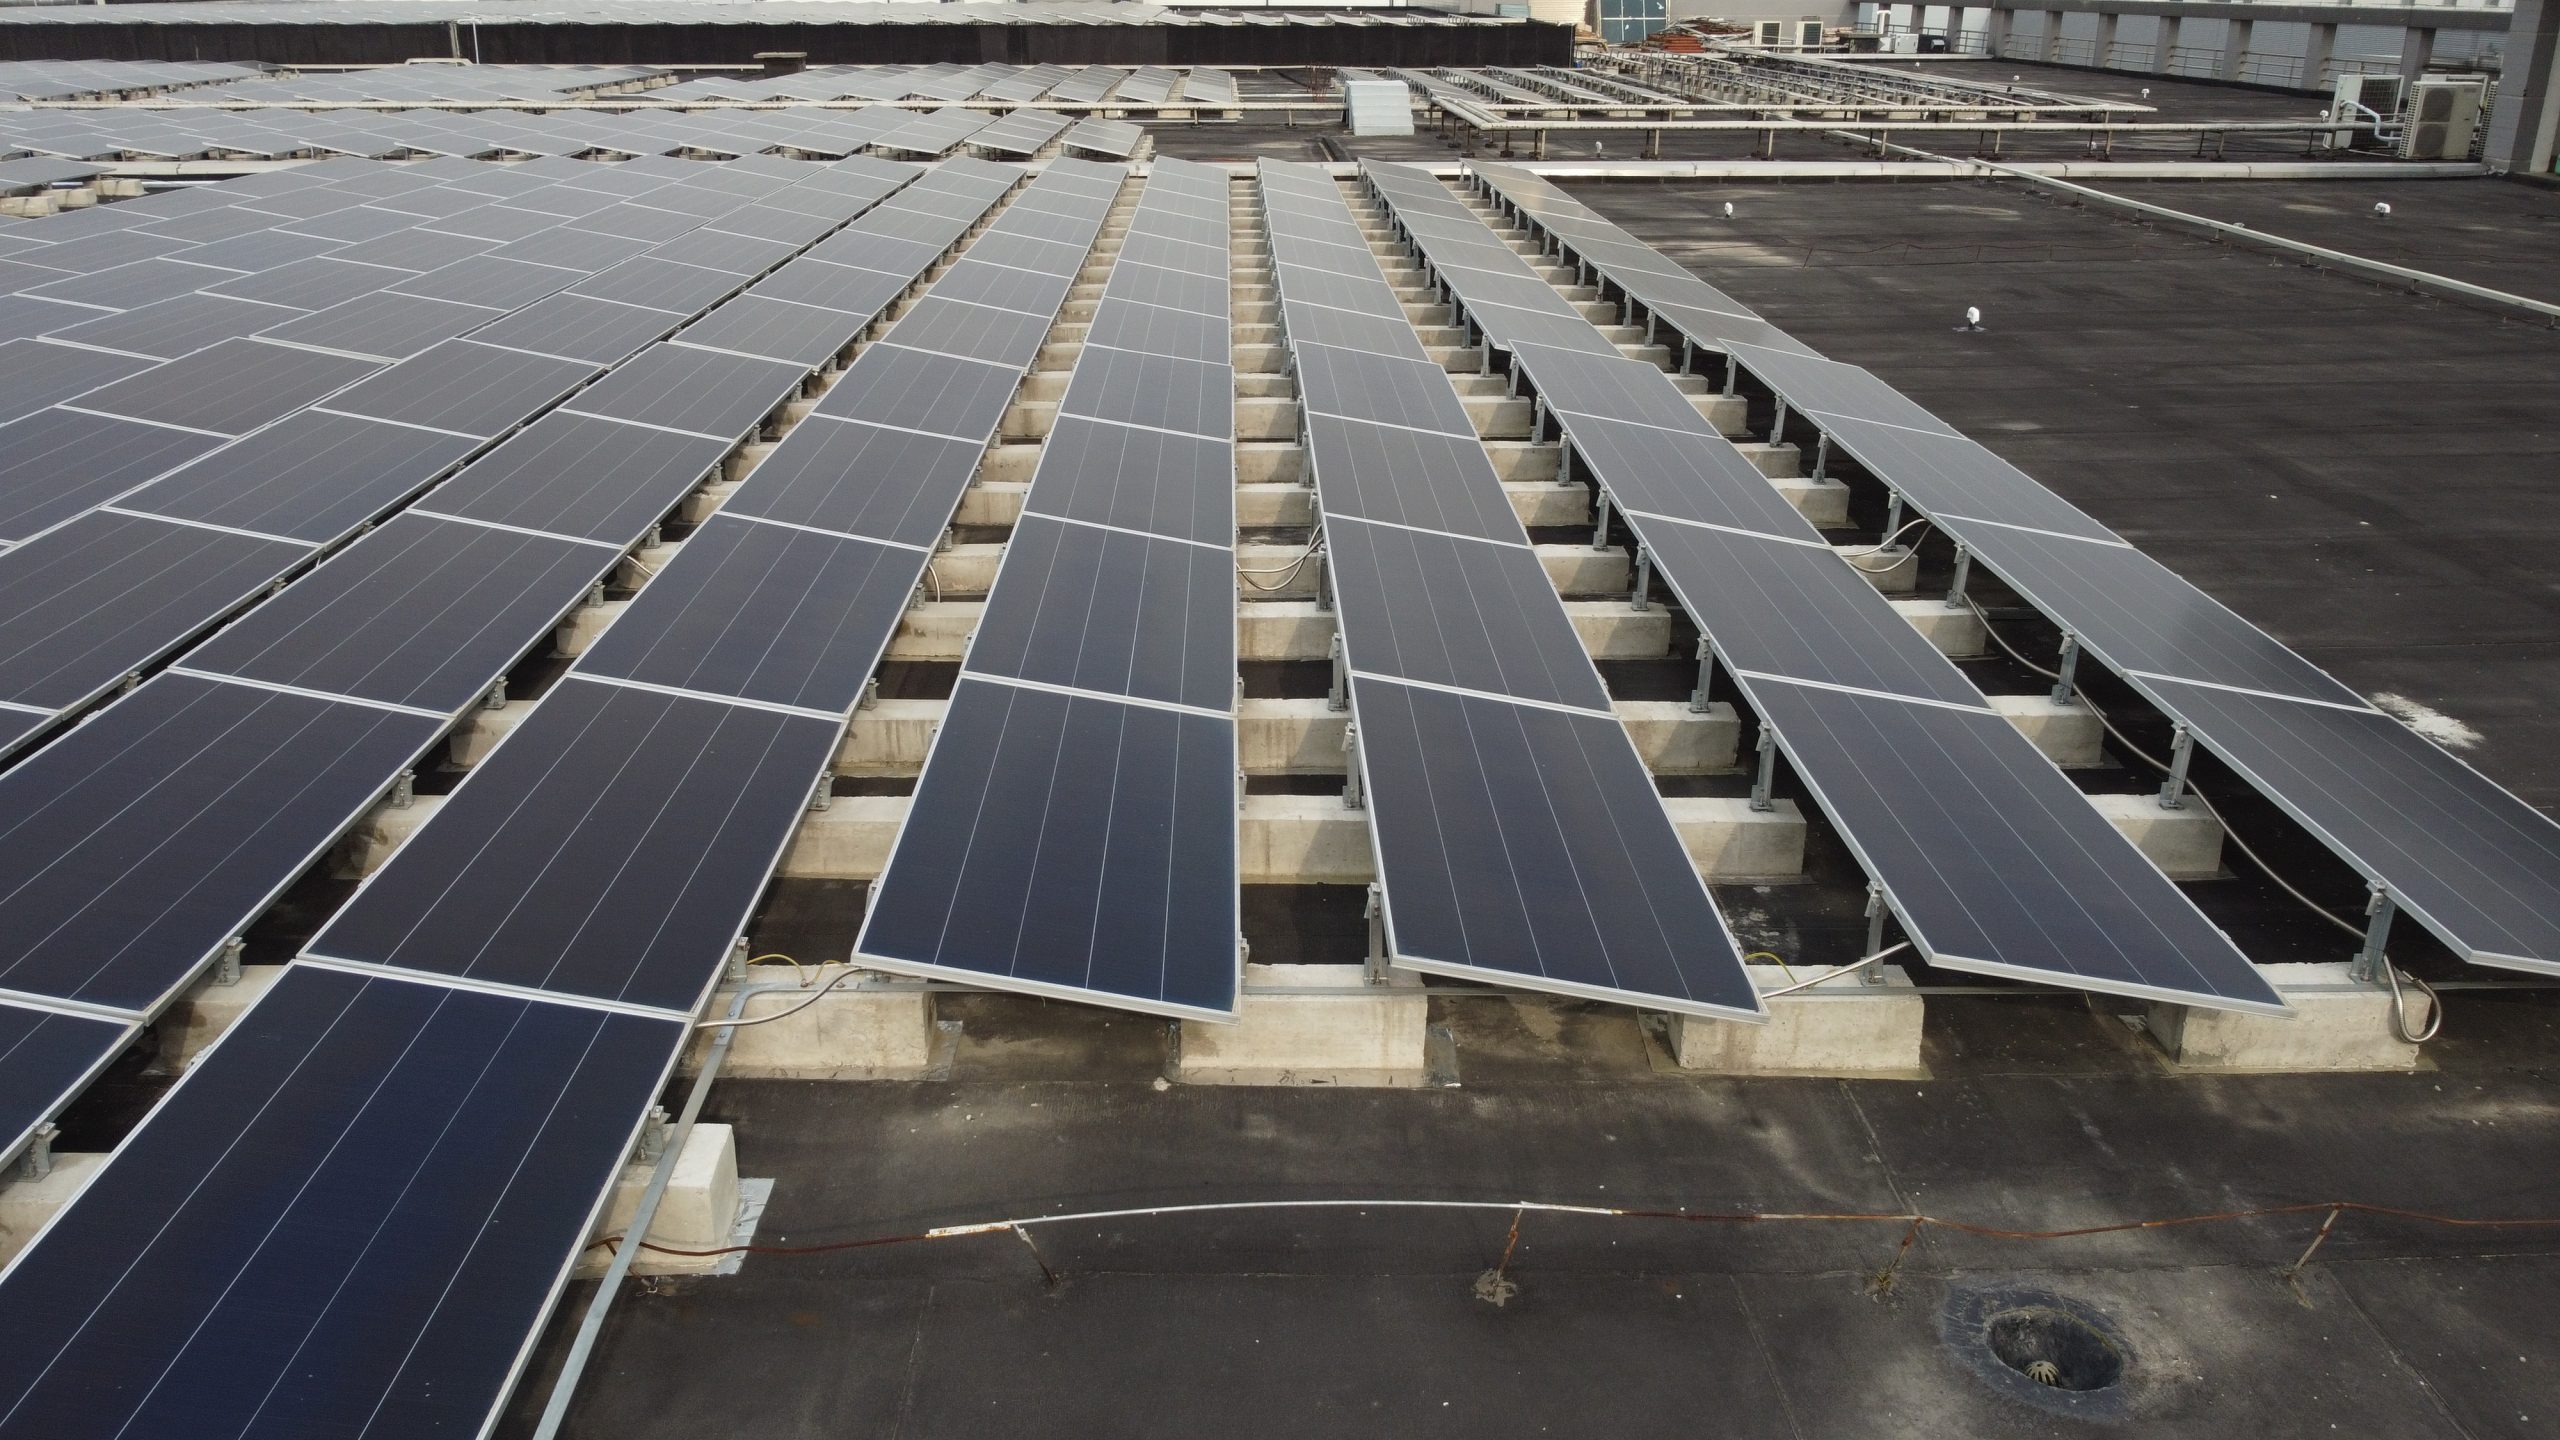
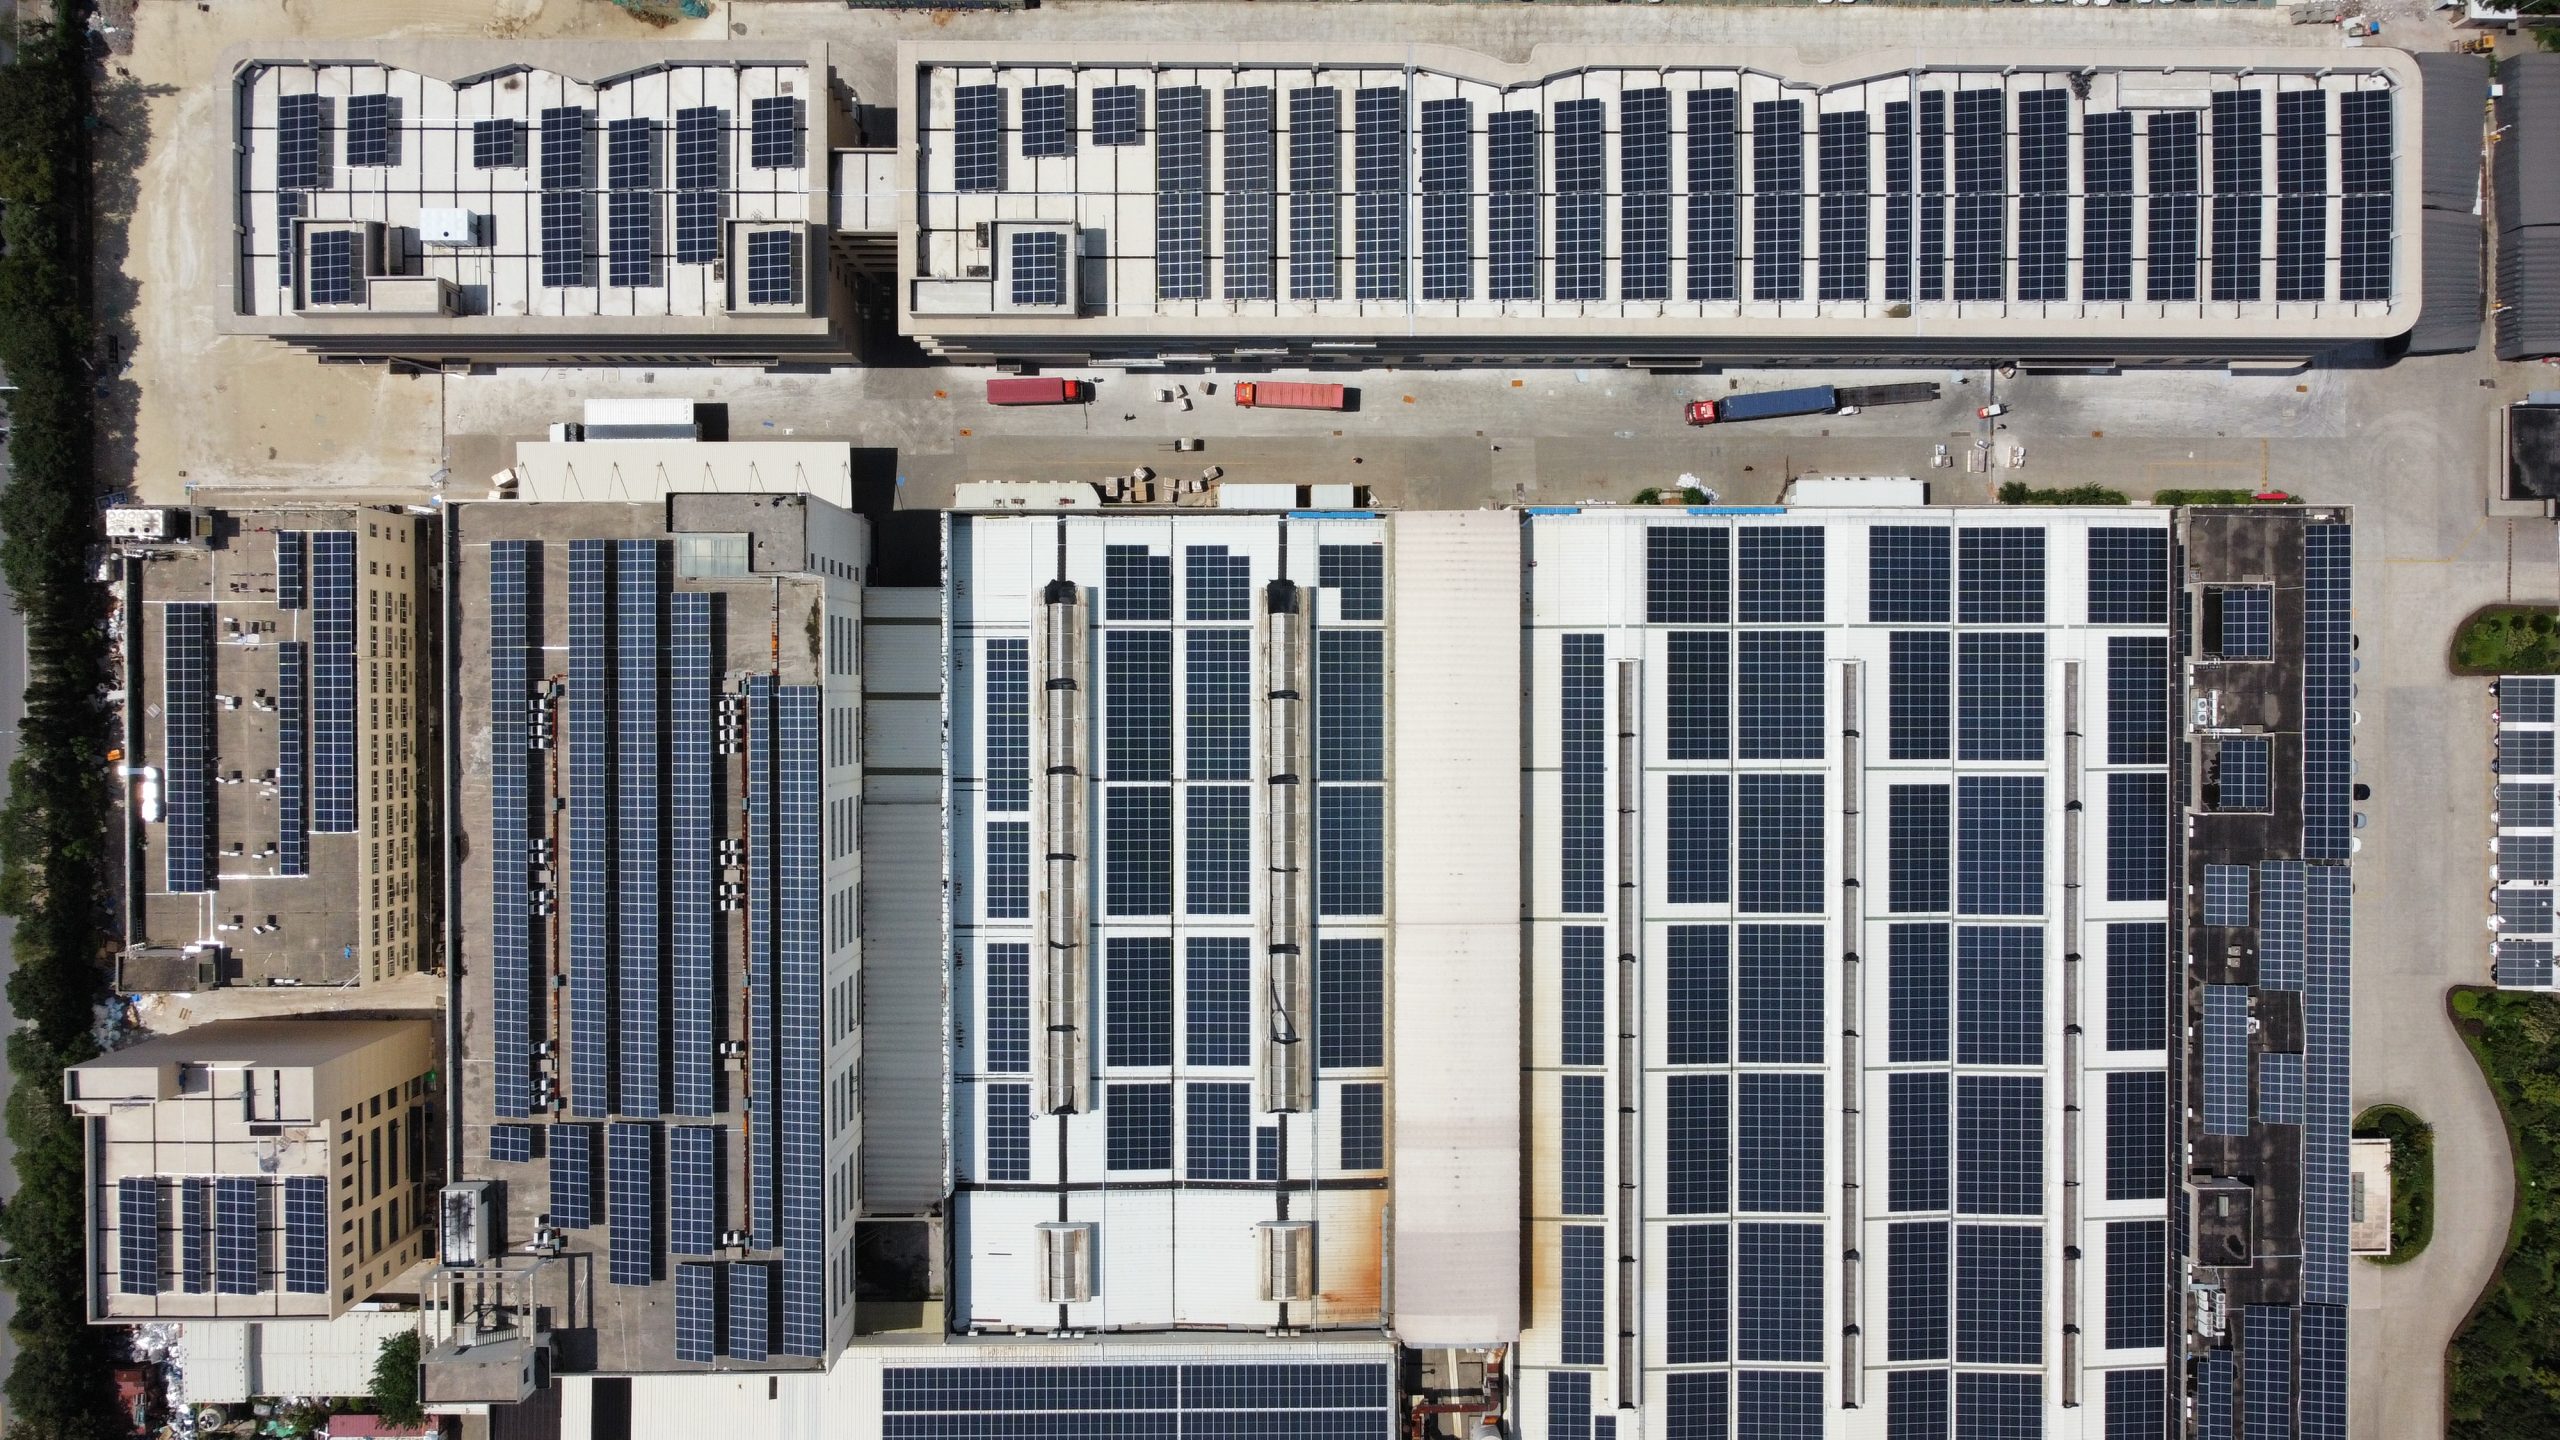
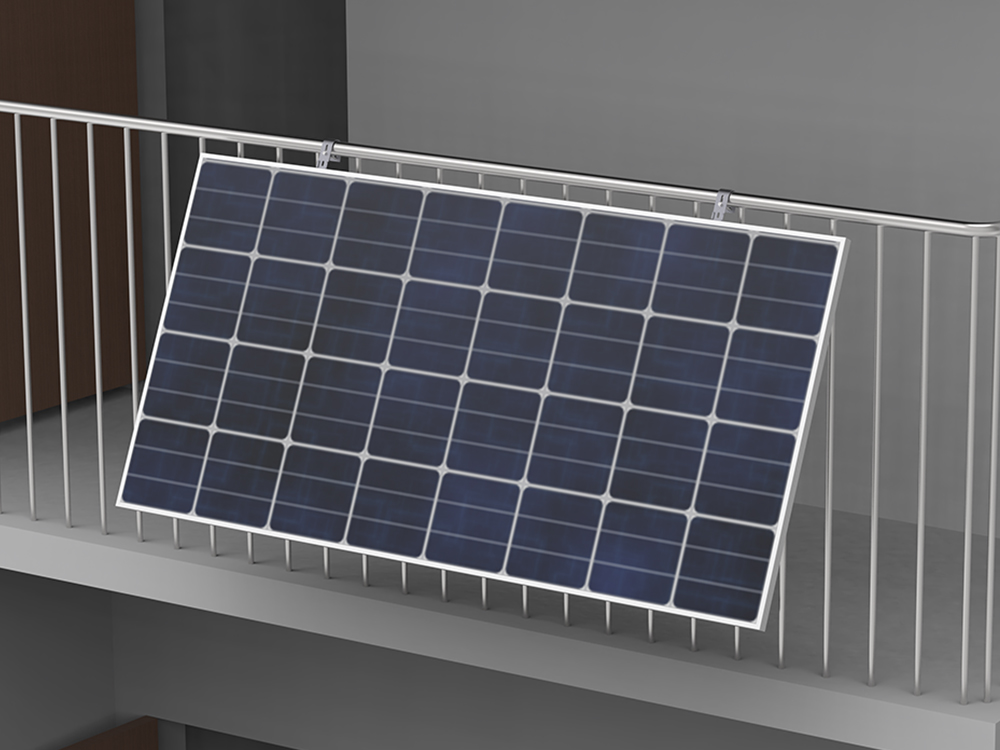
Roof mounting: applicable to families and small businesses, need to consider the load-bearing capacity and orientation of the roof.
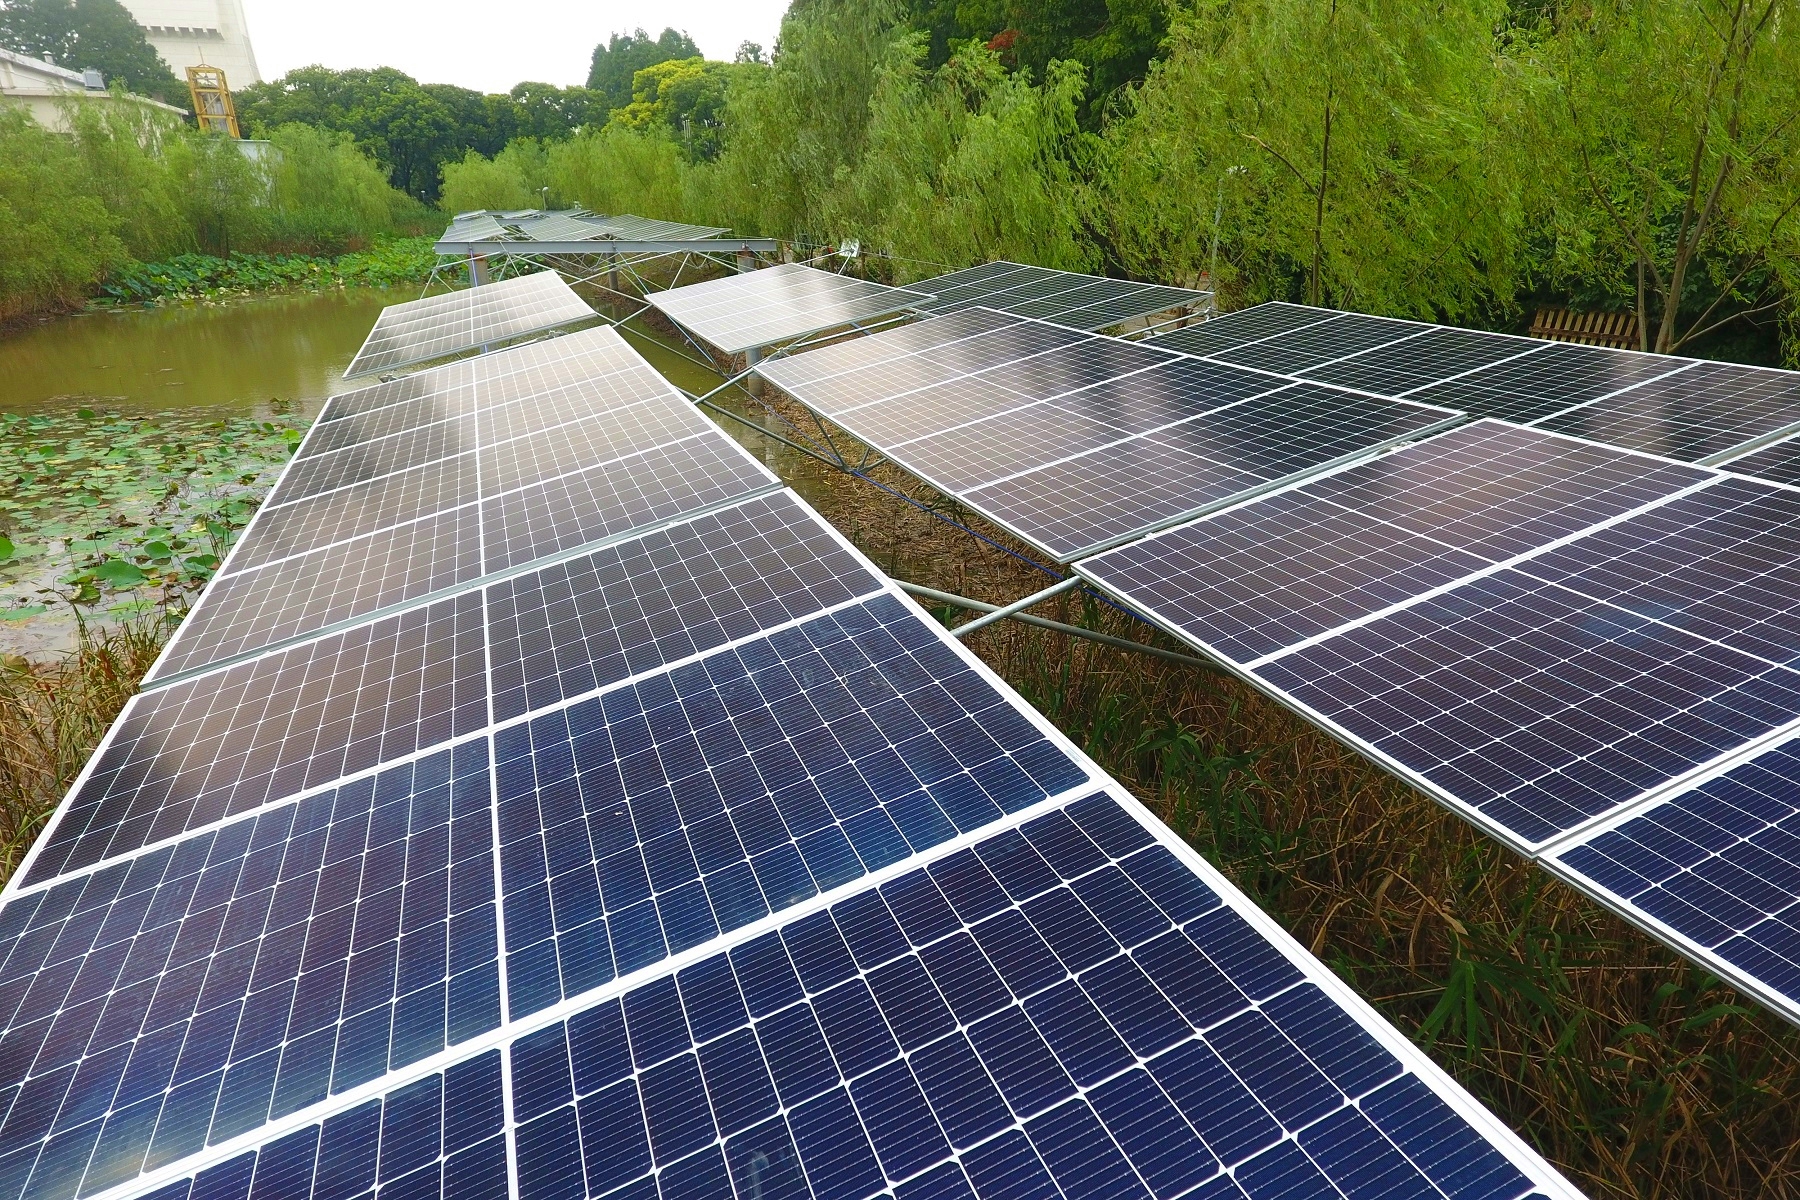
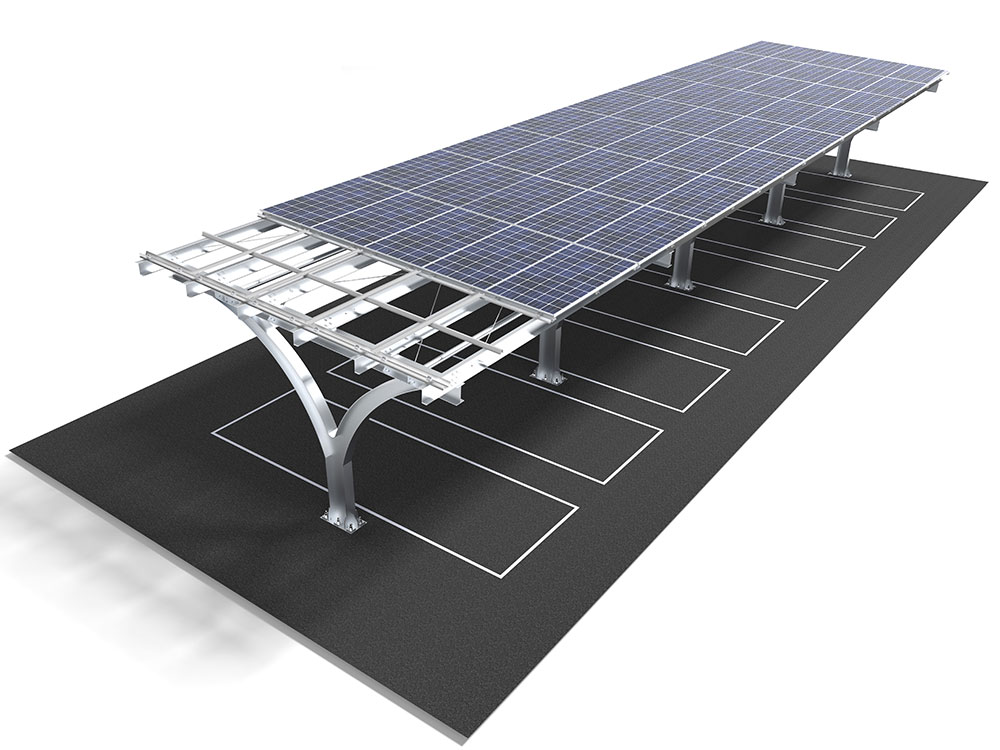
Ground mounting: Suitable for large solar power stations, which need larger open space.
2. Select the appropriate type of mounting
Fixed mounting: low cost, simple maintenance, suitable for users with limited budget and stable light conditions.
Adjustable bracket: able to adjust the angle according to the season, suitable for areas with large changes in light conditions.
Tracking bracket: the highest power generation efficiency, but higher cost, suitable for large solar power stations.
3. Material selection
Aluminum alloy: lightweight, corrosion-resistant, suitable for roof installation.
Steel: high strength, low cost, suitable for ground installation.
4. Brand and price
Brand: choose a famous brand with guaranteed quality and perfect after-sales service.
Price: choose the right stent according to the budget, do not blindly pursue the low price, so as not to affect the service life and power generation efficiency.
III, the installation steps of solar energy stent
1. Preparation
Tool preparation: electric drill, screwdriver, level, wrench, etc.
Preparation of materials: solar bracket, bolts, nuts, spacers, etc.
Safety measures: wear helmet and gloves to ensure the safety of the installation environment.
2. Installation steps
Measurement and marking: Measure and mark the mounting position of the bracket according to the design drawings.
Fix the base: Use expansion bolts to fix the base on the roof or ground.
Mounting Bracket: Fix the bracket on the base, make sure it is horizontal and vertical.
Mounting the solar module: Fix the solar module on the bracket, make sure it is firm.
Connecting cables: Connect the cables of the solar module according to the circuit diagram and make sure the wiring is correct.
3. Inspection and commissioning
Check fixing: Make sure all bolts and nuts are tightened and the bracket and solar module are firm.
Debugging Angle: Adjust the angle of the bracket according to the local light conditions to ensure that the solar module can receive sunlight at the best angle.
Test power generation: Connect the inverter and test the power generation of the solar system to make sure everything is normal.
Although the installation of Solar mounting system may seem complicated, as long as you have mastered the basic knowledge and steps, even a beginner can easily get started. We hope the tips in this article can help you successfully complete the purchase and installation of Solar mounting system and enjoy the convenience and benefits of clean energy. If you have any questions, welcome to leave a message in the comment section, we will be happy to answer you.