Choosing the right solar mounting structure is crucial for the safety, efficiency, and long-term reliability of your rooftop PV system. A proper selection extends the system’s life and maximizes energy output. This article offers professional advice for your project.
Basic Mounting Types
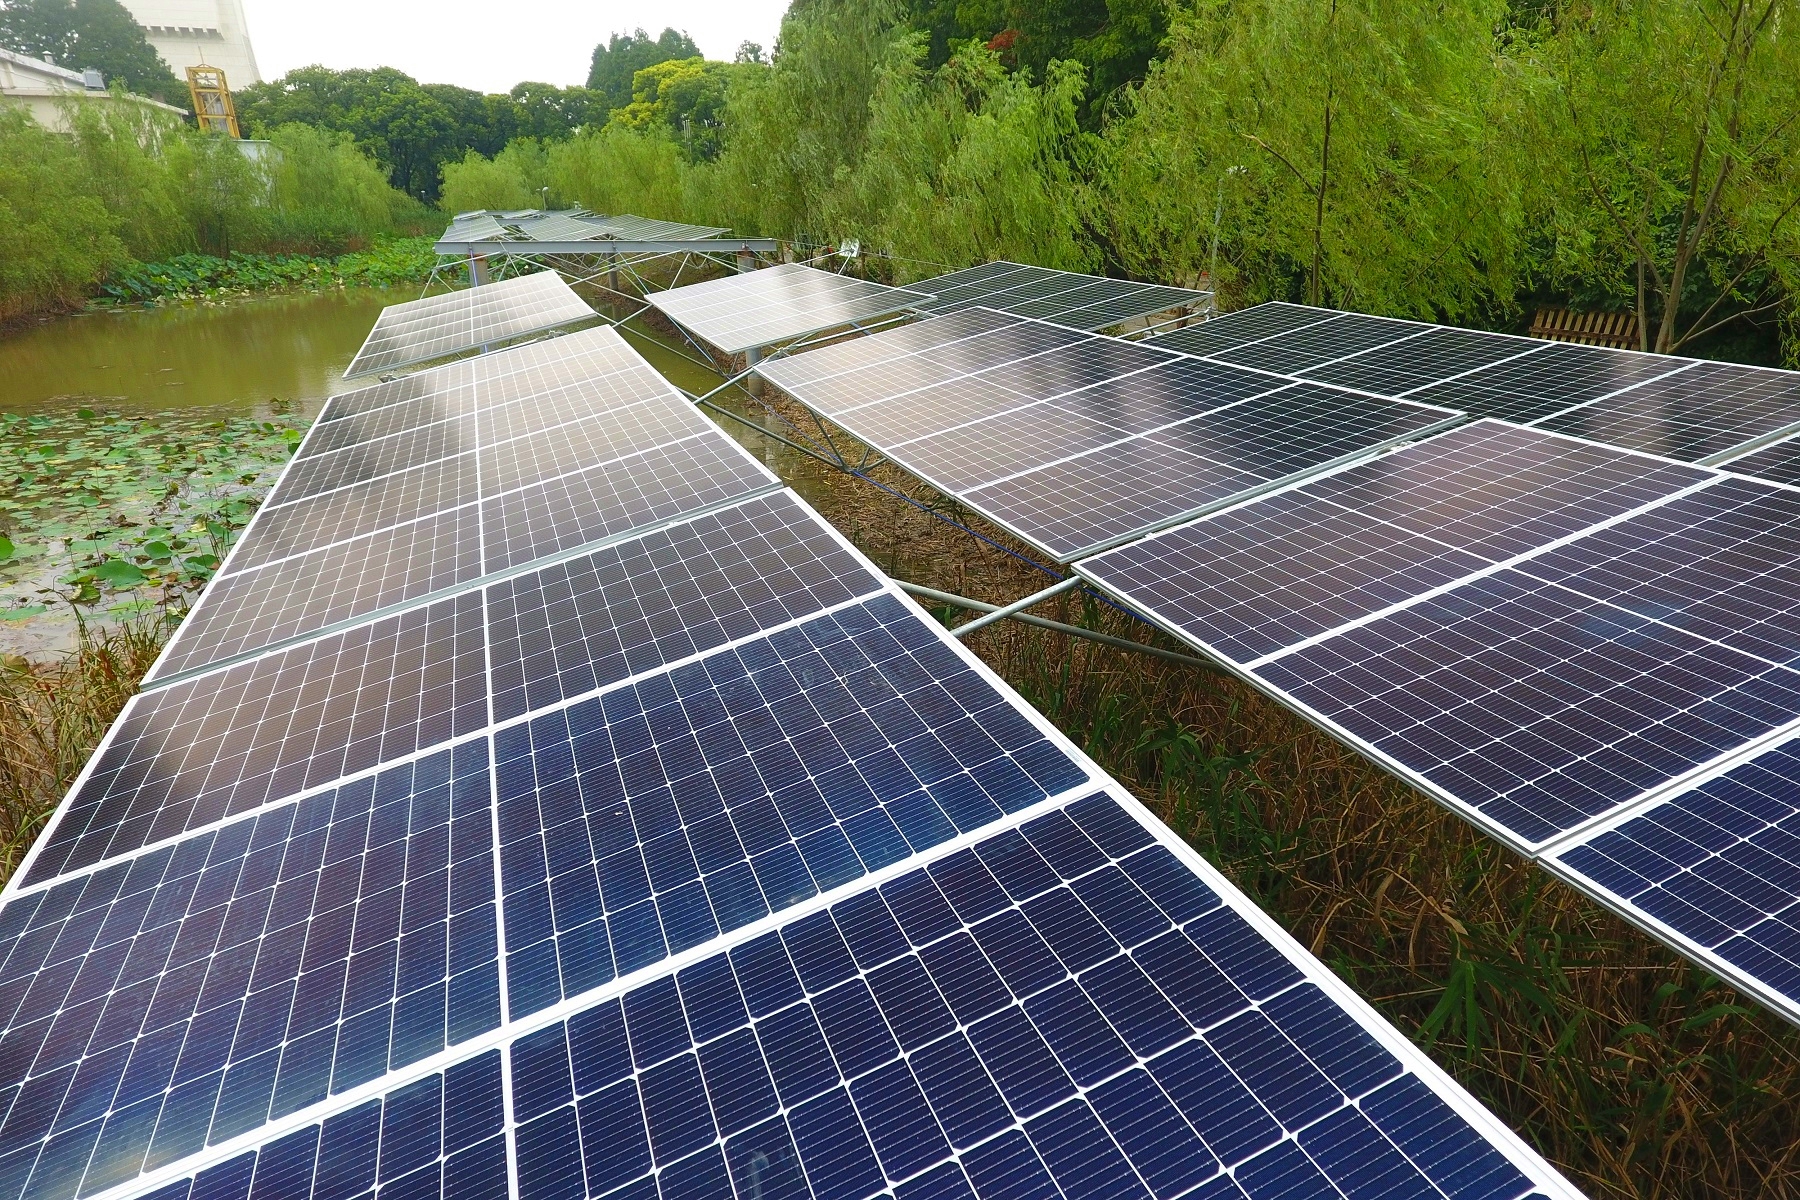
Rooftop solar mounts fall into three main categories: fixed, adjustable, and flat roof systems.
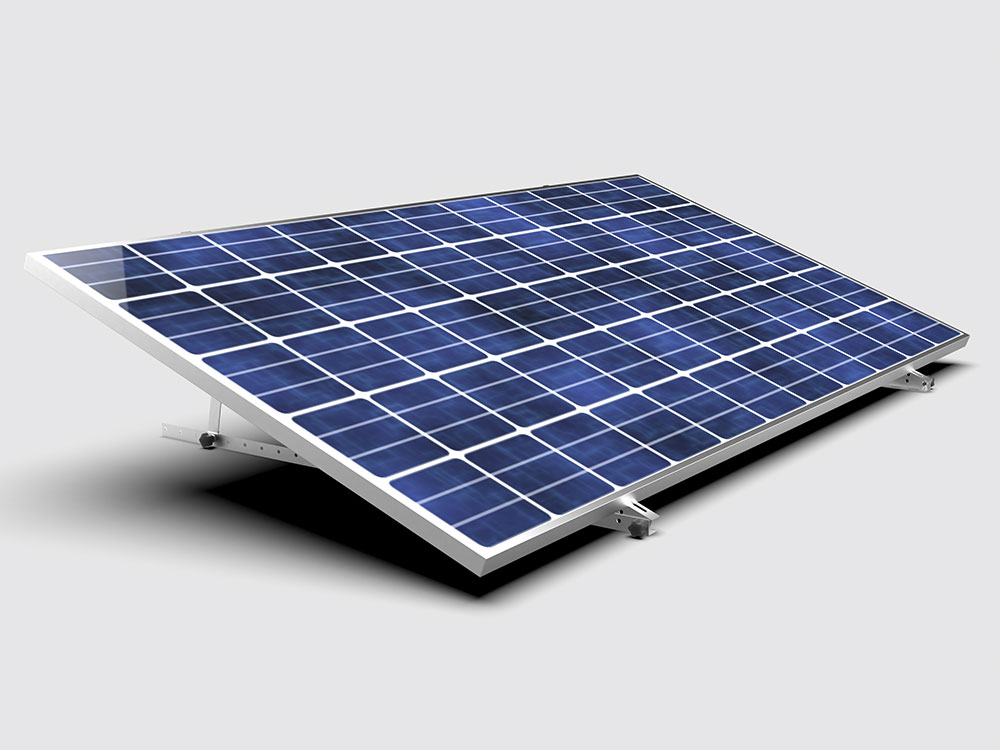
- Fixed Mounts: Simple and cost-effective. Ideal for sloped roofs, they are set at a fixed tilt angle, usually based on your latitude, for optimal energy production.
- Adjustable Mounts: Cost about 15-20% more but can boost energy yield by 5-8% through seasonal angle adjustments. Best for projects where maximizing efficiency is a priority.
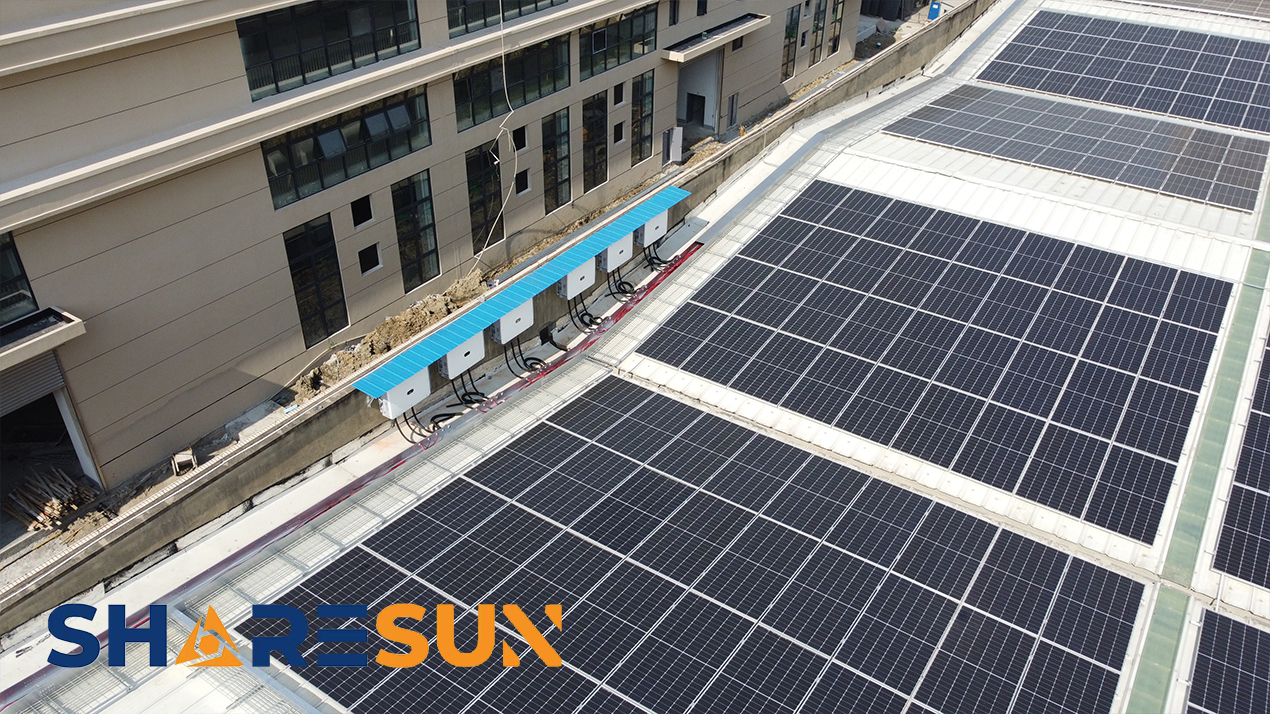
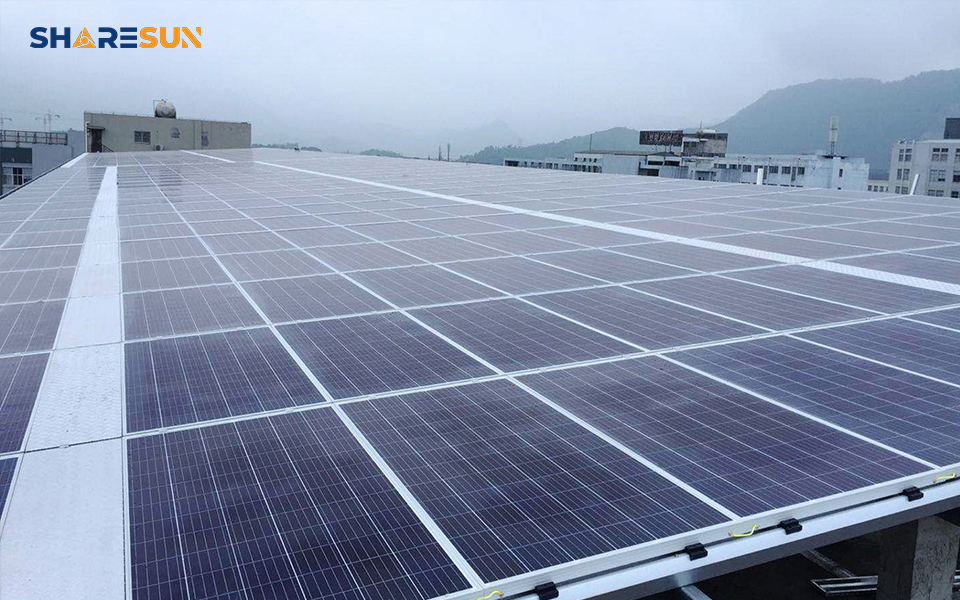
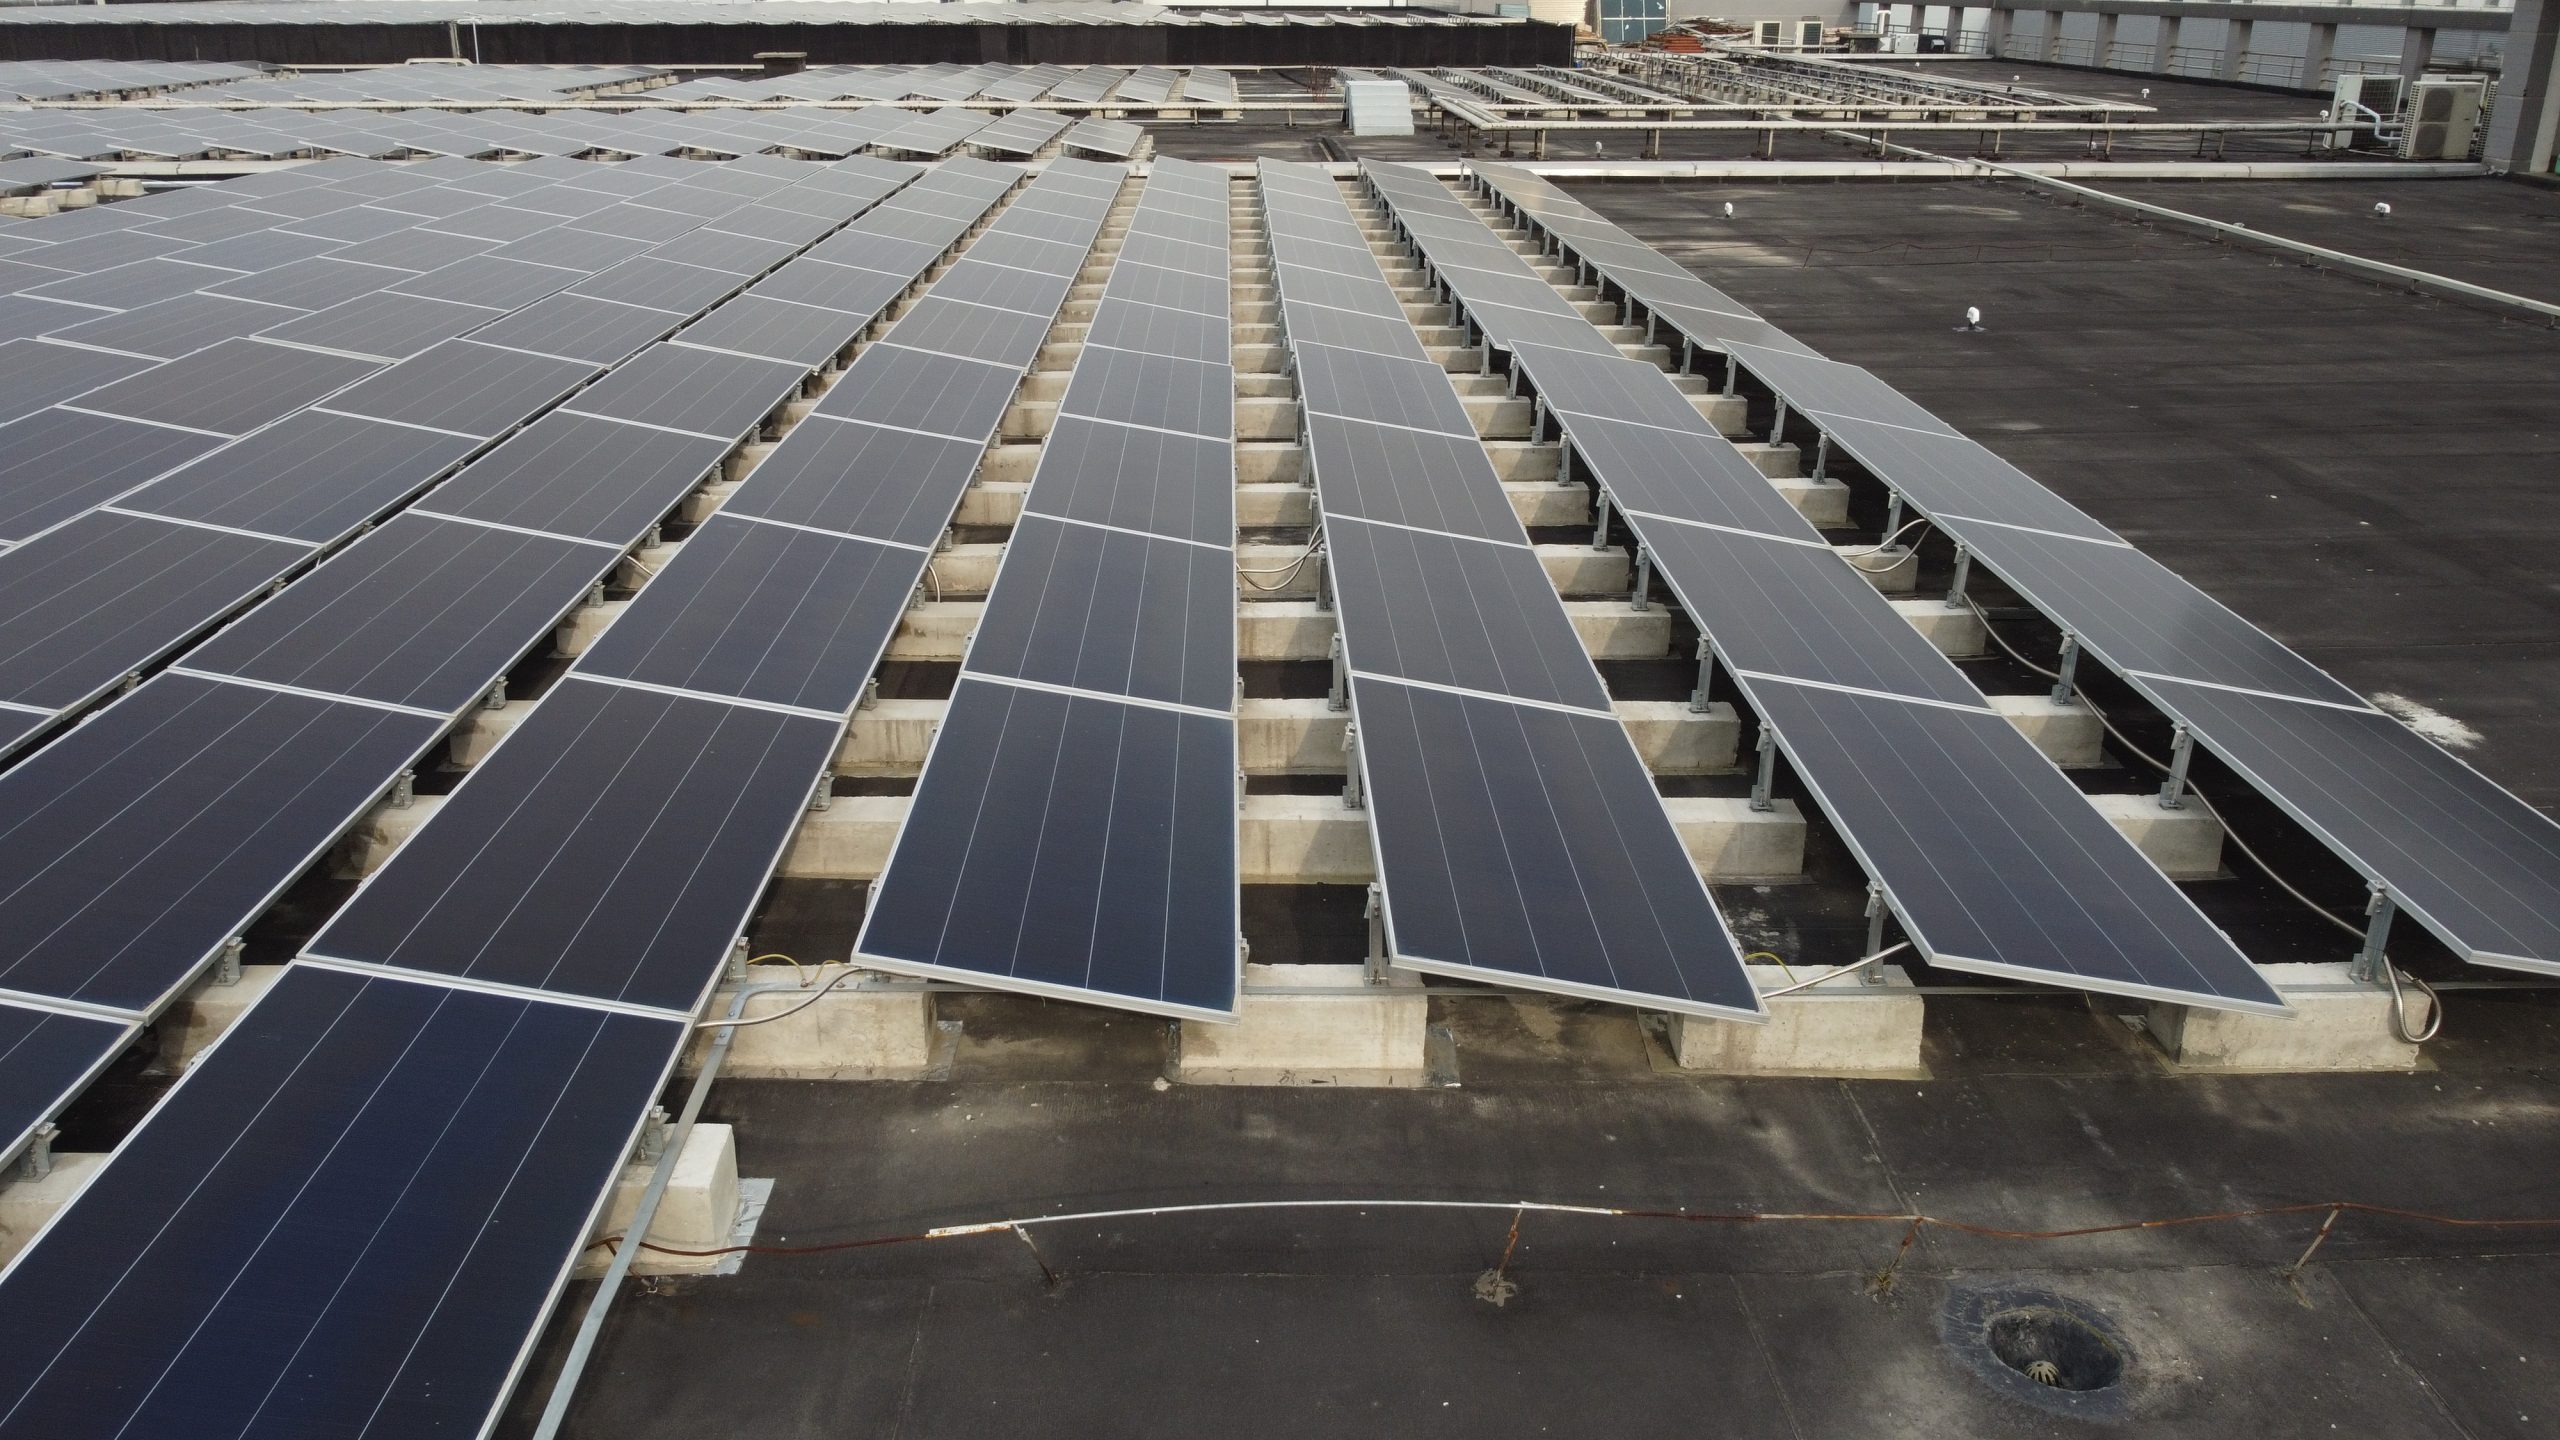
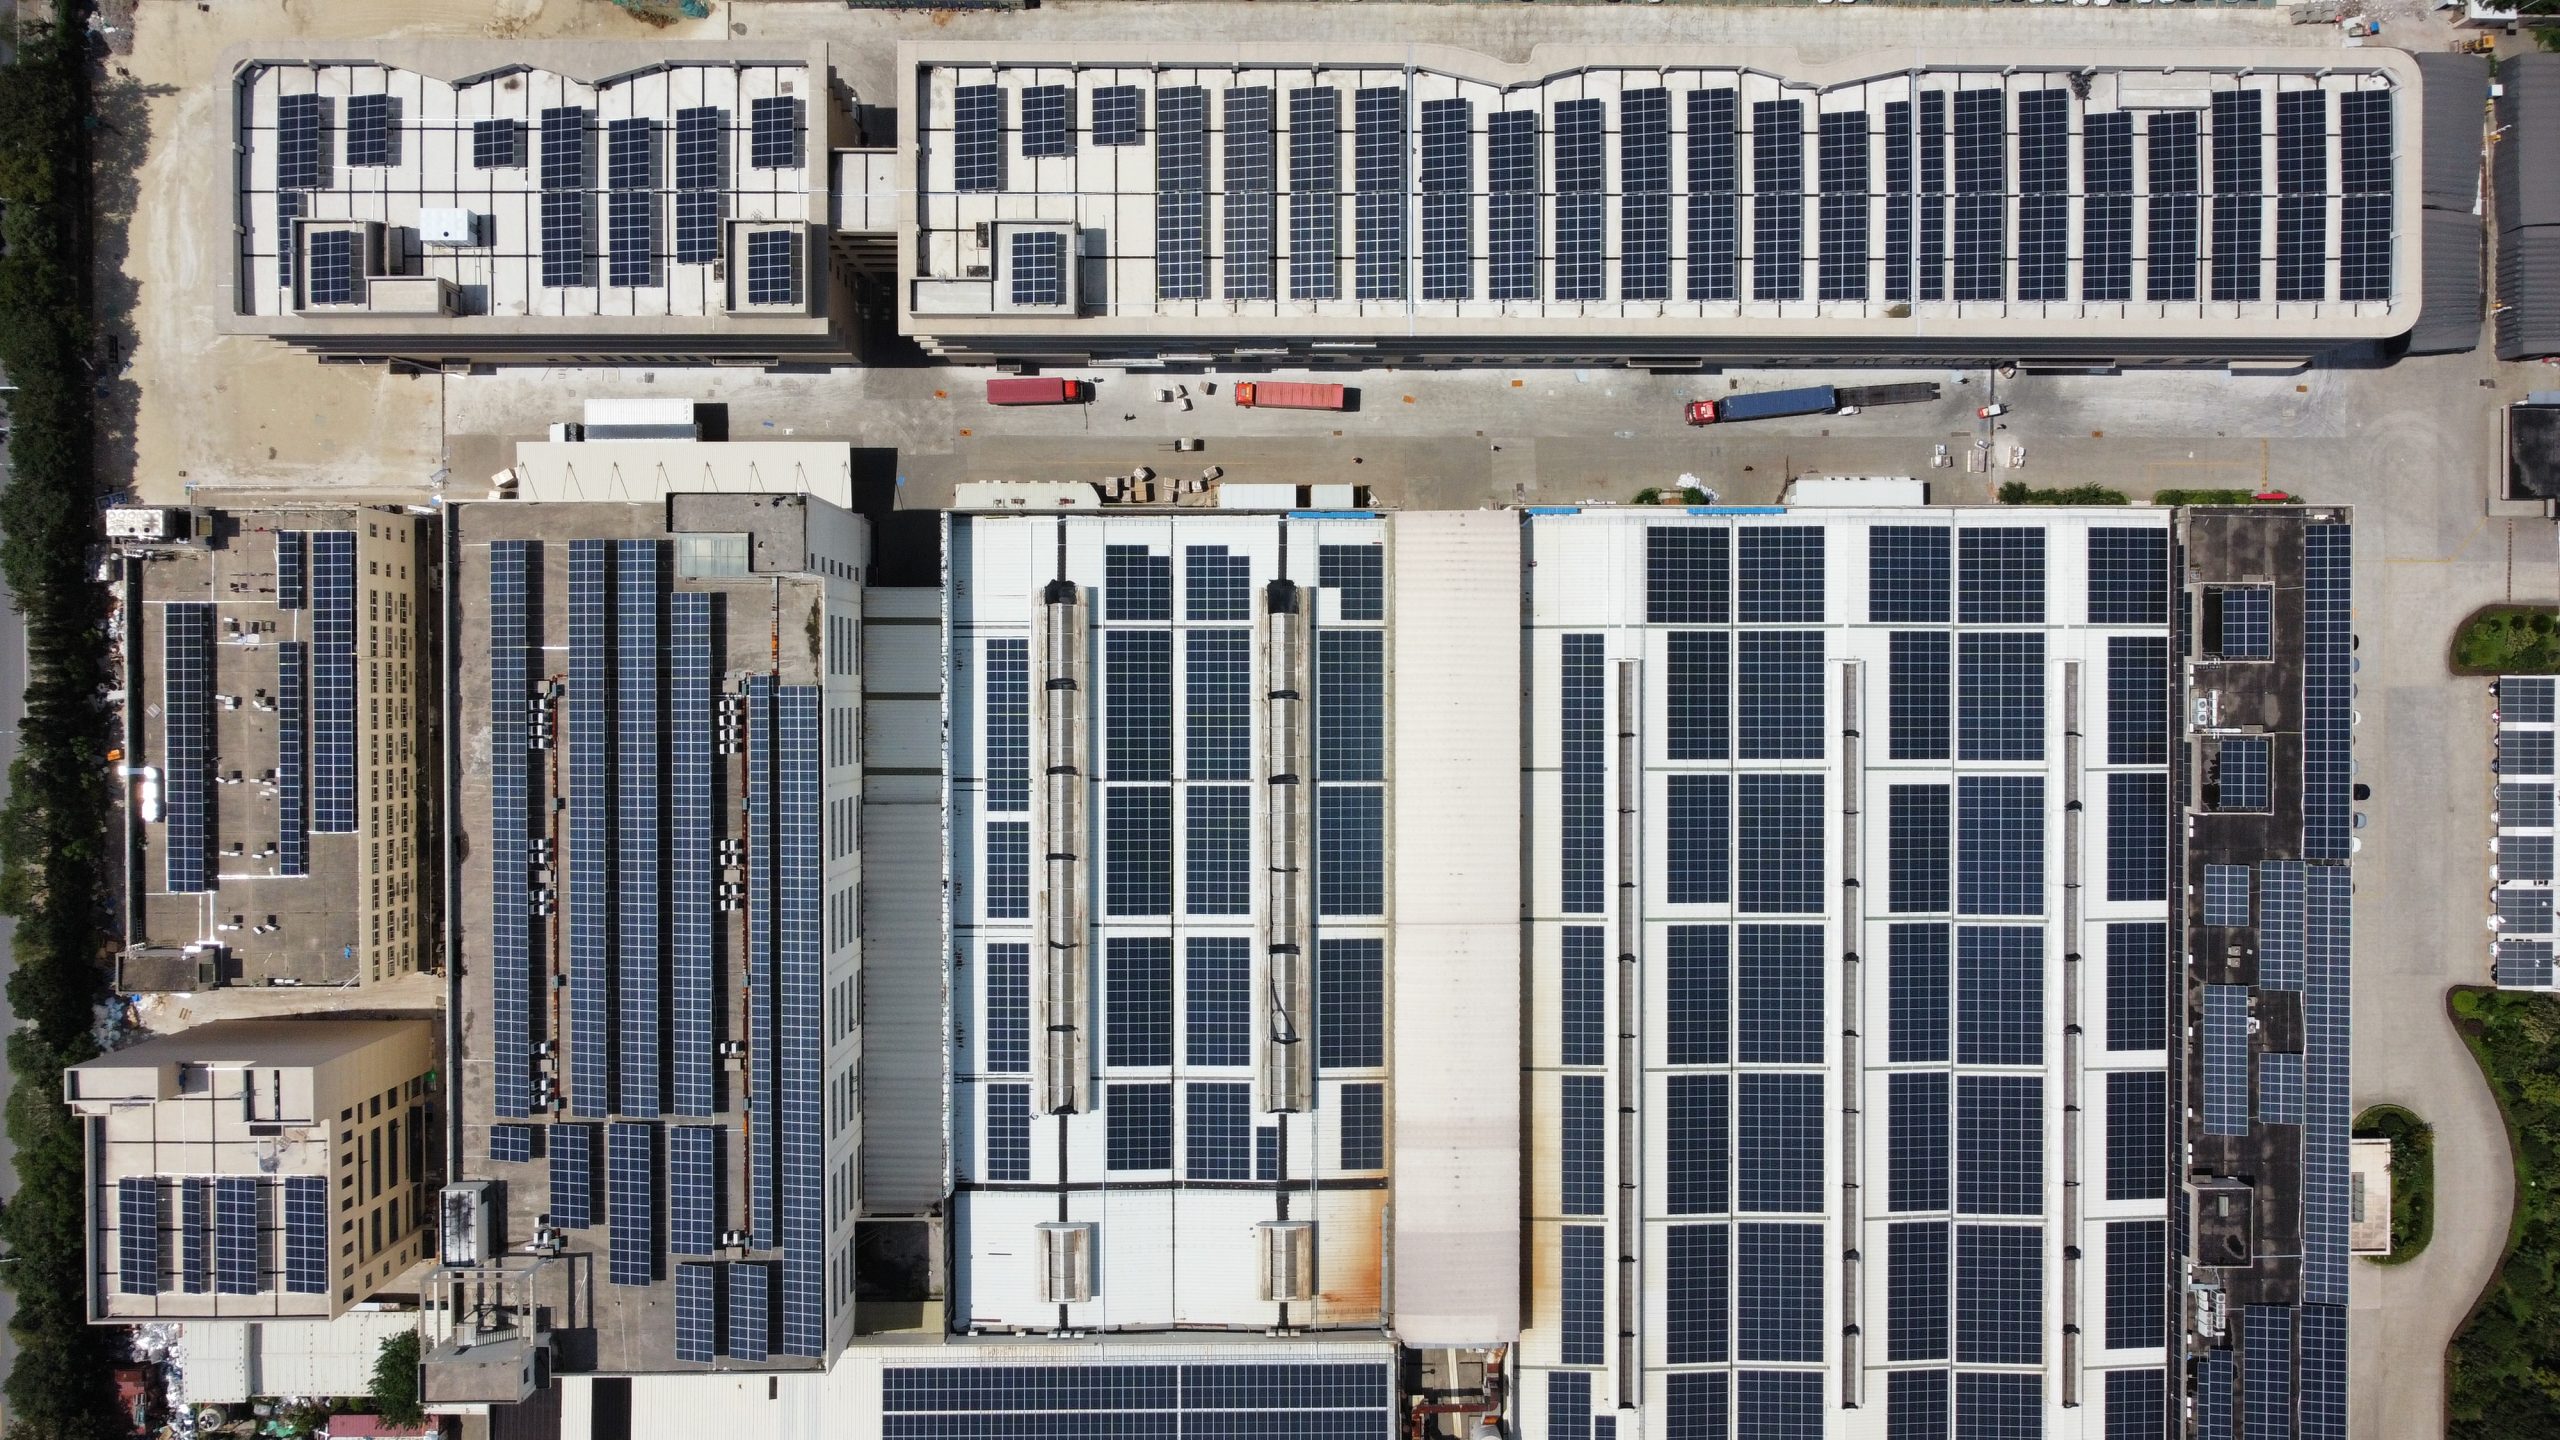
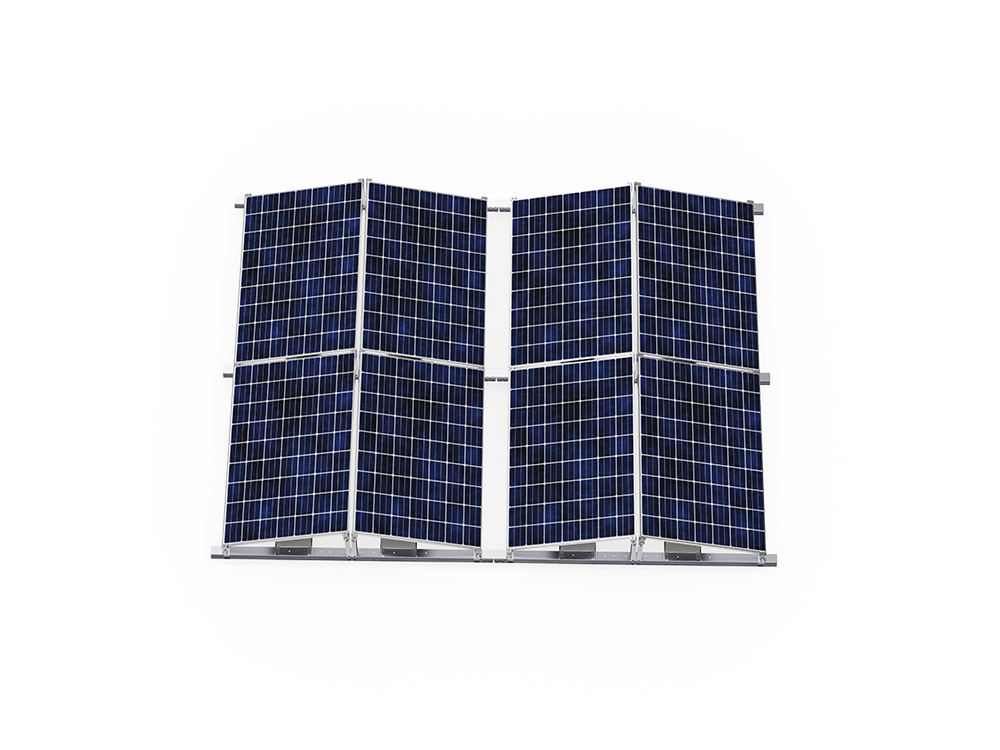
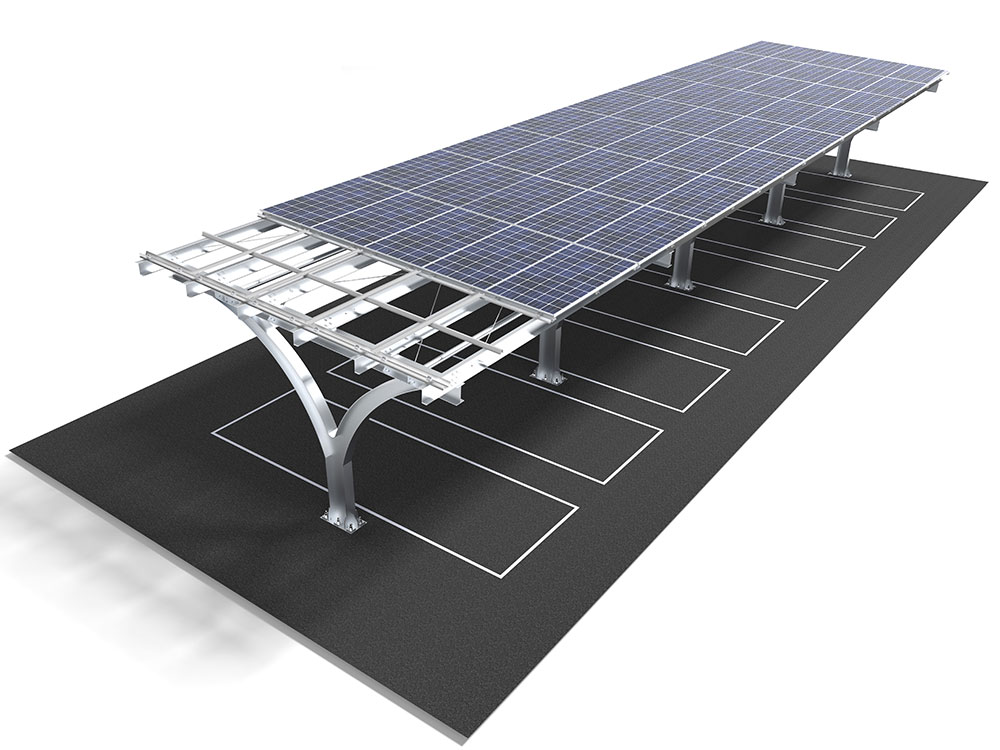
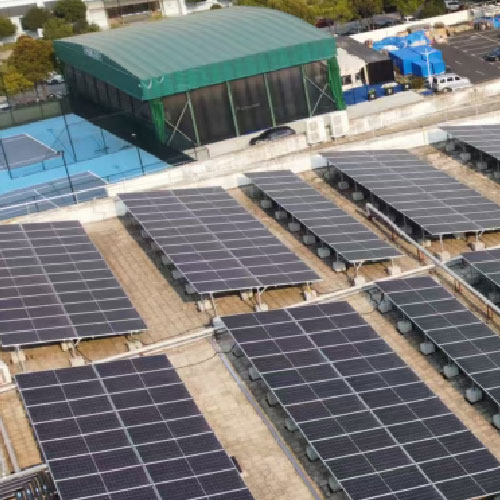
- Flat Roof Systems: Often use ballasted designs that avoid roof penetration. Perfect for commercial and industrial buildings.
Key Selection Factors
- Roof Type:
- Tiled Roofs: Use hook-style mounts. Avoid damaging the waterproof layer during installation.
- Metal Roofs: Clamp-on systems are suitable. Ensure clamp material is compatible with the roof.
- Flat Roofs: Choose ballasted systems. Precisely calculate ballast to meet wind load requirements.
- Climate:
- Windy Areas: Select high-wind-resistant systems. Add more attachment points.
- Snowy Regions: Consider load capacity and snow slide angle.
- Coastal Areas: Prioritize corrosion resistance for high salt spray environments.
- Material & Design:
- Aluminum: Lightweight and corrosion-resistant, but costs more.
- Galvanized Steel: Strong and economical, but heavier.
- Choose based on budget and roof load capacity. Minimum material thickness should be 2mm. The galvanized layer must be at least 80μm for long-term corrosion protection.
- Look for good drainage design, organized cable management, and anti-loosening connectors made of 304 grade stainless steel or better.
Installation & Maintenance
Professional installation is vital for safety.
- Site Assessment: Check roof load capacity before installation. Concrete roofs should handle at least 20kg/m². Check local load capacity for metal sheet roofs.
- Layout: Standard spacing is 1-1.2 meters between rows and 0.8-1 meters between modules for sufficient wind resistance.
- Maintenance: Check bolt tightness every six months. Inspect anti-corrosion coating yearly. Perform extra checks after severe weather.
Cost-Benefit Analysis
The mounting system makes up 10-15% of the total project cost but impacts performance for over 20 years.
- Avoid cheap, low-quality products. A reliable system offers better long-term value despite a higher initial cost.
- Compare the Levelized Cost of Energy (LCOE). High-quality mounts often have lower LCOE due to higher output and lower maintenance.
- For commercial projects, consider systems that allow for future expansion.
Selecting a roof solar mount requires a comprehensive look at your roof, local climate, material quality, and maintenance needs. Consult with professional designers and choose proven products. A high-quality mounting system ensures safety, boosts performance, and delivers a better return on your solar investment.