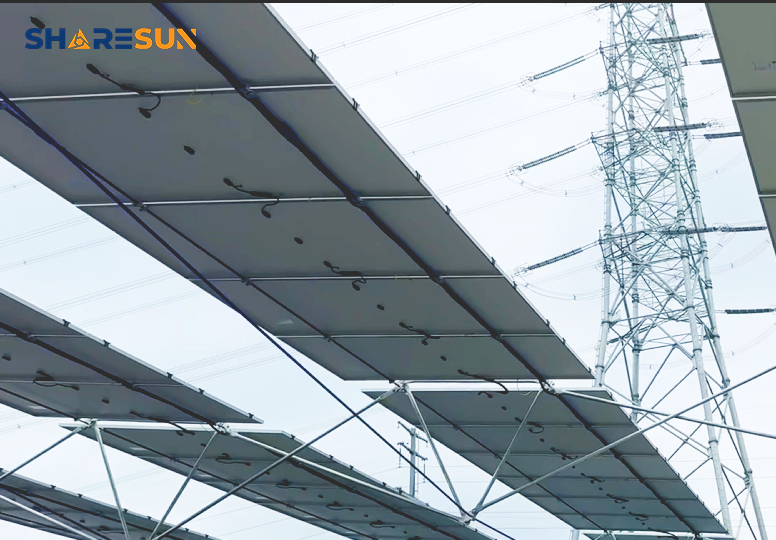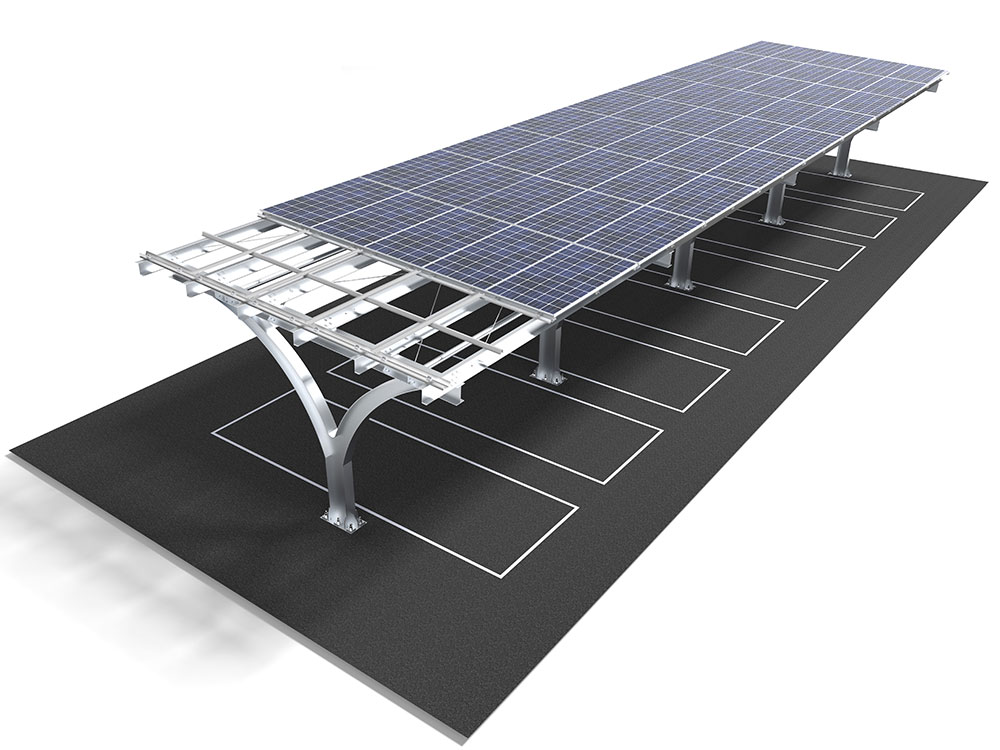
Cable structure solar mounting systems are revolutionizing the industry. Offering a unique blend of reduced steel usage, visual transparency, and adaptability to complex terrains, they are becoming a top choice for distributed and flexible solar projects. Unlike traditional rigid racks, their installation requires a different mindset and approach.
This guide breaks down the installation process and critical considerations into simple, actionable insights.
Core Installation Steps
Think of the installation as a “String First, Mount Second” process, where precise tension control is paramount.
- Foundation & Anchoring: This is the bedrock of the entire structure. Execute the foundations for boundary columns, ground anchors, or connection points to surrounding structures as per design drawings. Verify that all embedment parts meet specified requirements for location, elevation, and strength—this is non-negotiable for all subsequent work.
- Primary Structure & Boundary Cables: Erect the perimeter columns or edge beams. Then, install the main boundary cables (typically the larger load-bearing strands). Initial tensioning is sufficient at this stage; the goal is to create the primary load-bearing network.
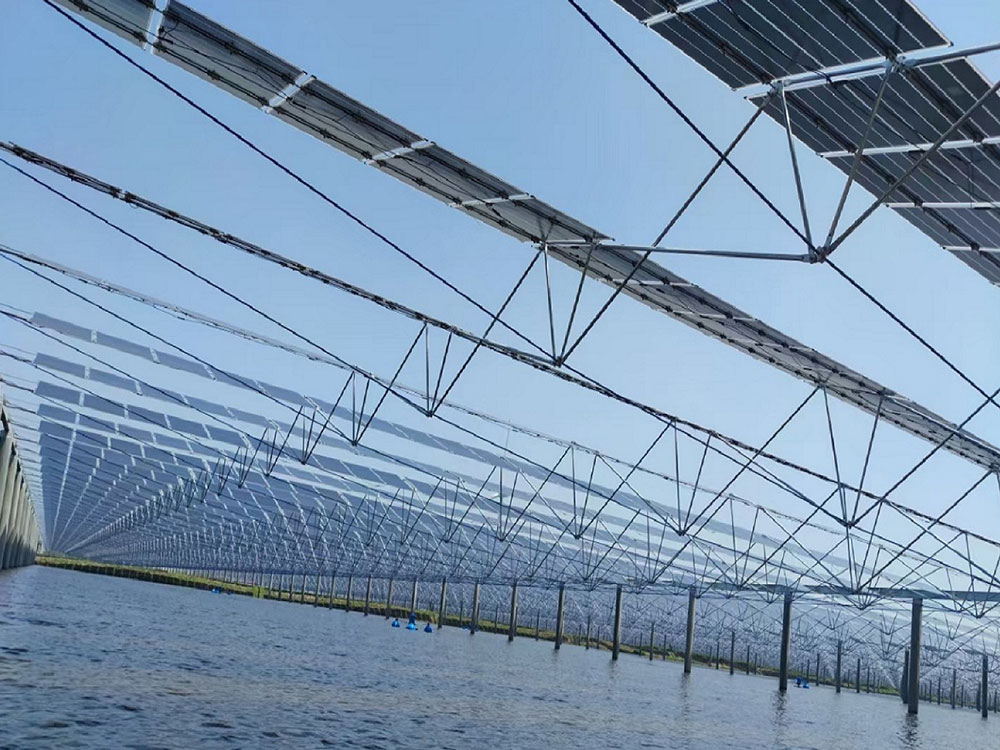
- Cable Net Deployment & Preliminary Tensioning: Lay the transverse and longitudinal bracing cables onto the boundary cables according to the design pattern, forming the cable net. Use professional tensioning tools (e.g., hydraulic jacks, torque wrenches) for the initial tensioning. The key here is “Symmetrical and Staged” tensioning. Avoid fully tensioning a single cable at once. Instead, increase the tension progressively and alternately across different points to ensure the entire net settles evenly and takes shape.
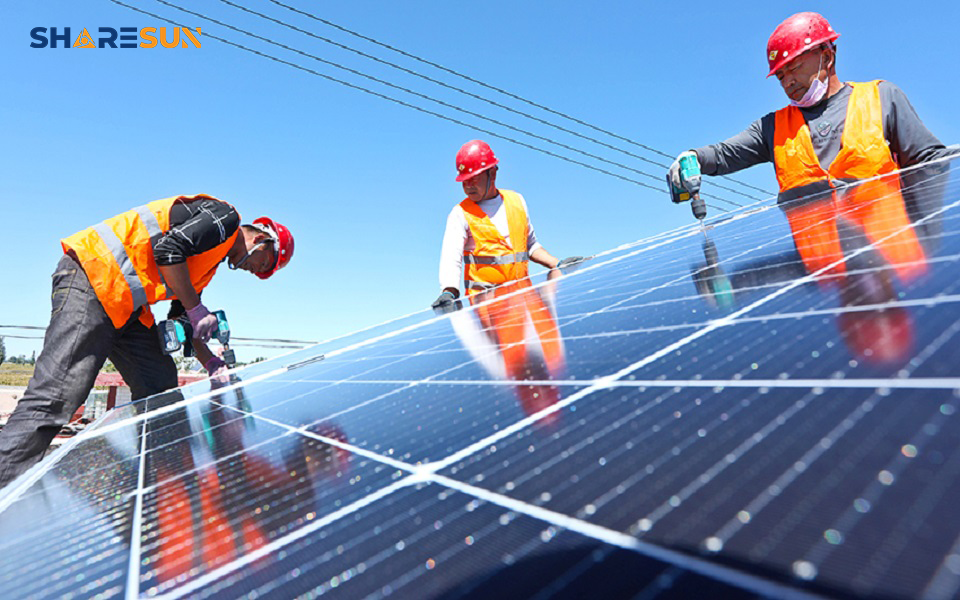
- Solar Panel Installation: With the cable net formed, install specialized clamps and rails following the designated spacing and orientation. Then, securely fix the solar panels onto the rails. It is critical to handle panels with care to prevent surface scratches or micro-cracks.
- Final Tensioning & Adjustment: After all panels are installed, the full system load is applied. This is a crucial step: return to the cables for final tension measurement and fine-tuning. Ensure the entire cable net, under full load, achieves the designed form and specified tension values. This guarantees long-term structural integrity.
- Electrical & Grounding Connection: Complete the series connection of panels, install combiner boxes, and establish reliable equipotential bonding and grounding. As the structure is metallic, a robust lightning protection earthing system is essential.
Key Considerations for Success
With cable structures, the details make all the difference.
- Tension is Everything: The system’s stability hinges entirely on预设的张力. Never estimate by feel. Strictly use professional equipment like tension meters to monitor and control the process.
- Protect the Cables: The coating on the cables (especially high-strength steel strands) is their primary defense against corrosion. During transport, lifting, and installation, prevent any scraping, damage from welding sparks, or improper bending.
- Don’t Skip the Re-Tensioning: The final tension check and adjustment after full panel installation is mandatory. Panel weight causes the cable net to deflect. Skipping this step can lead to a slack and potentially deformed structure.
- Secure Against Wind: These structures are responsive to wind loads. Beyond correct cable tension, inspect all boundary fasteners and anchor points to ensure they remain secure under strong winds.
Conclusion
Installing a cable structure solar mounting system is a highly technical task centered on one thing: precision tension control. By choosing an experienced installation team, strictly adhering to design drawings and procedures, and emphasizing cable protection and final tension adjustment, you can ensure this innovative system operates safely, stably, and efficiently for decades, adding unique value to your solar project.