Amidst the current global energy transition, solar power generation has garnered increasing attention as a clean, renewable energy source. As a critical component of solar power systems, the installation quality of ground-mounted solar mounting systems directly impacts the overall system stability and power generation efficiency. This guide provides a detailed overview of the installation process and key considerations for ground-mounted solar mounting systems, helping you complete the installation successfully and ensure long-term stable system operation.
I. Pre-Installation Preparations
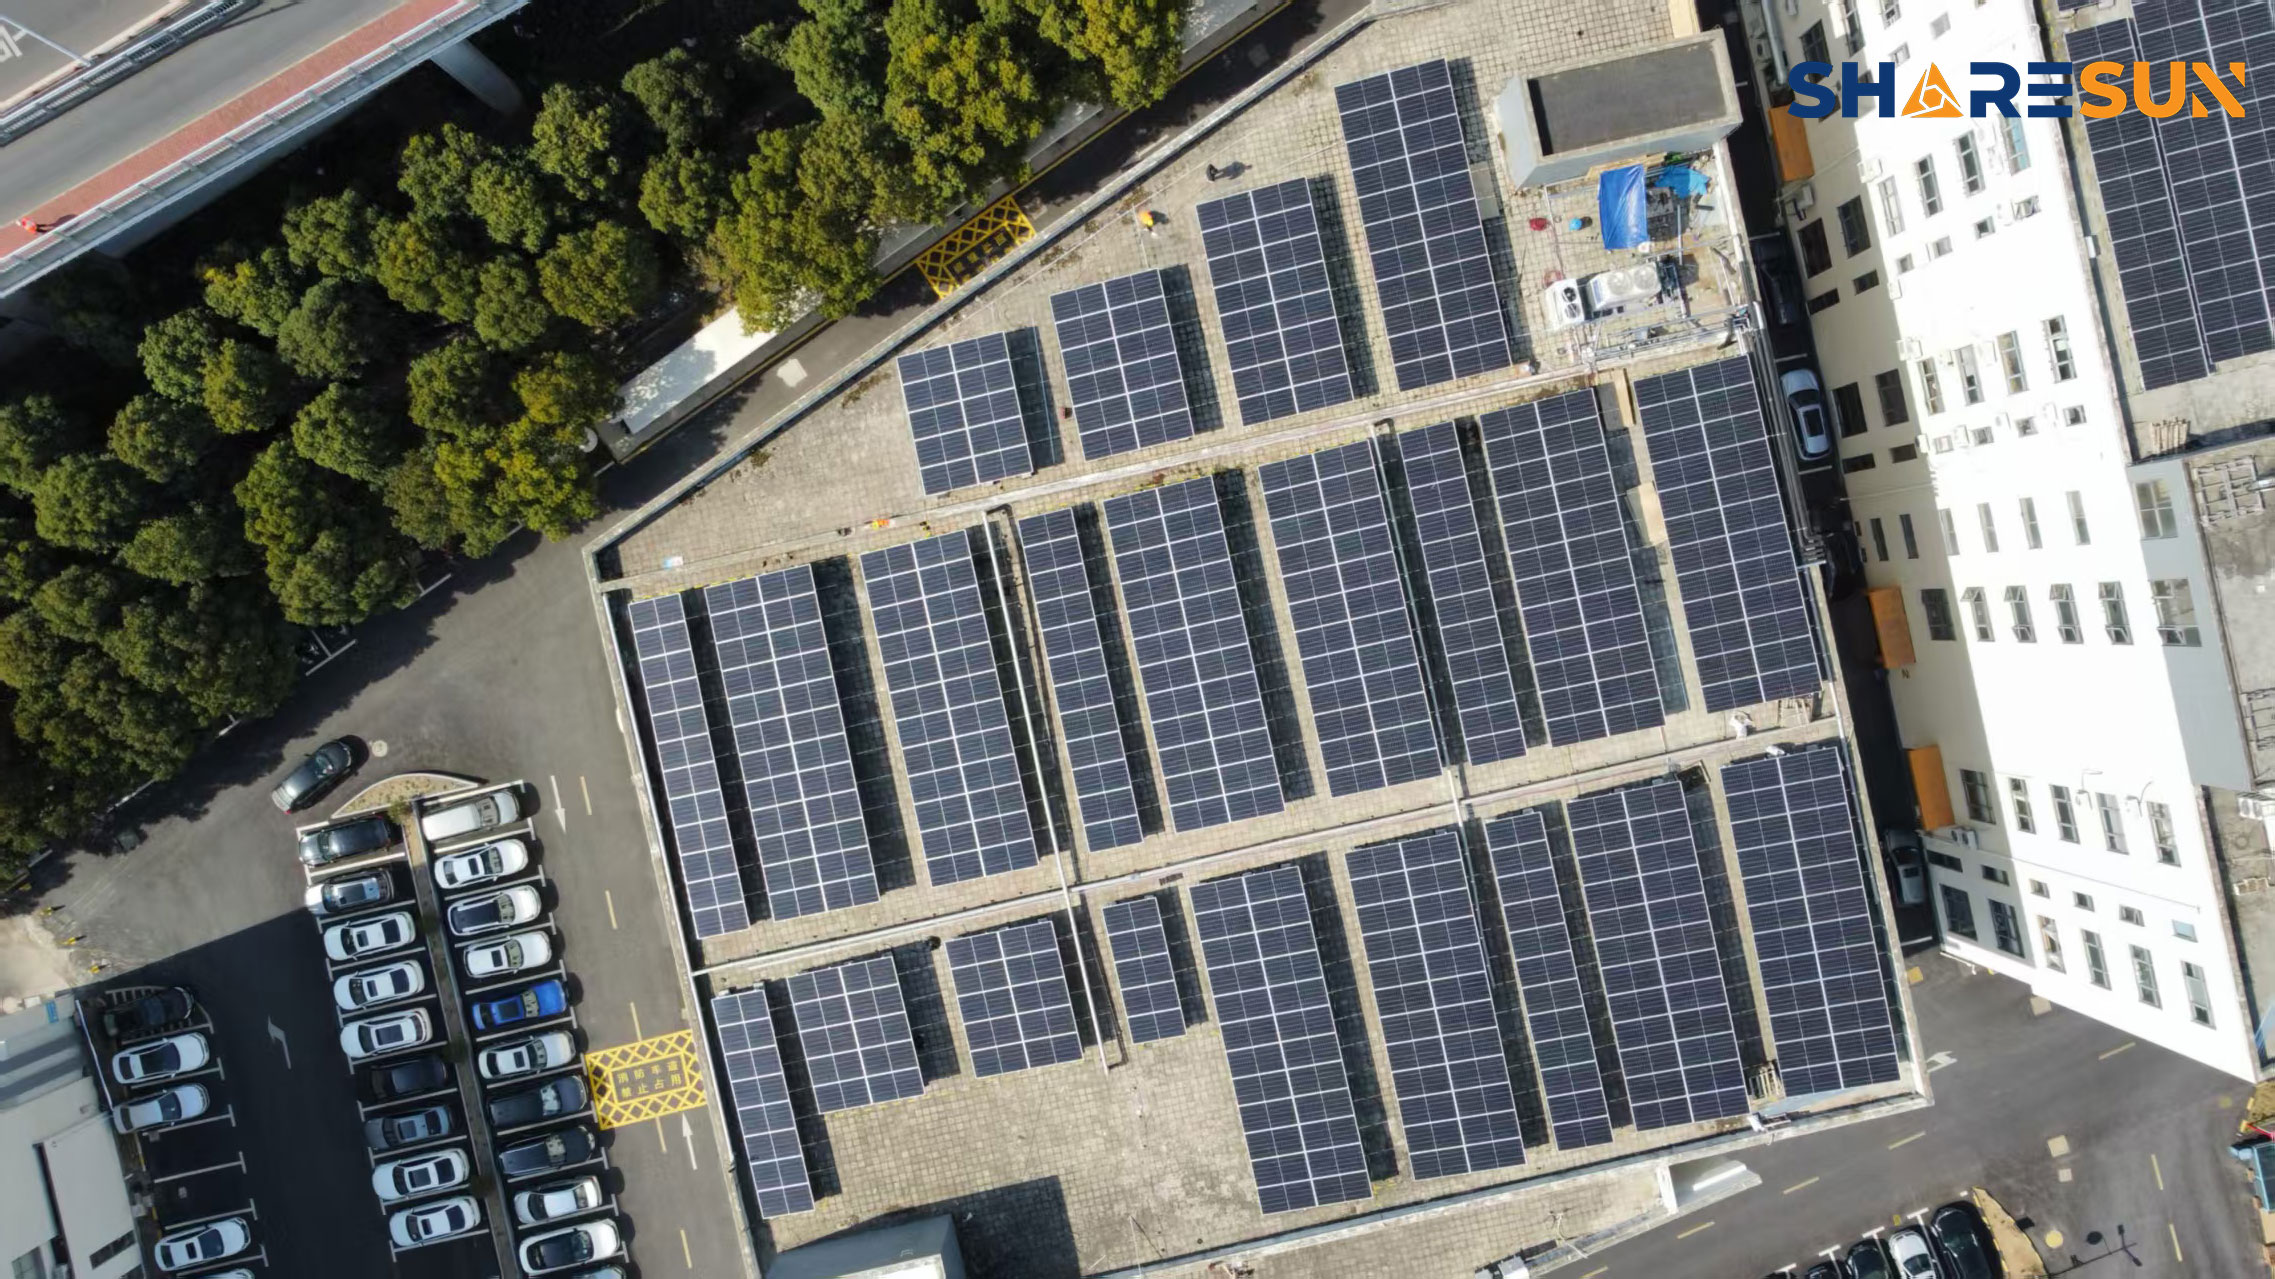
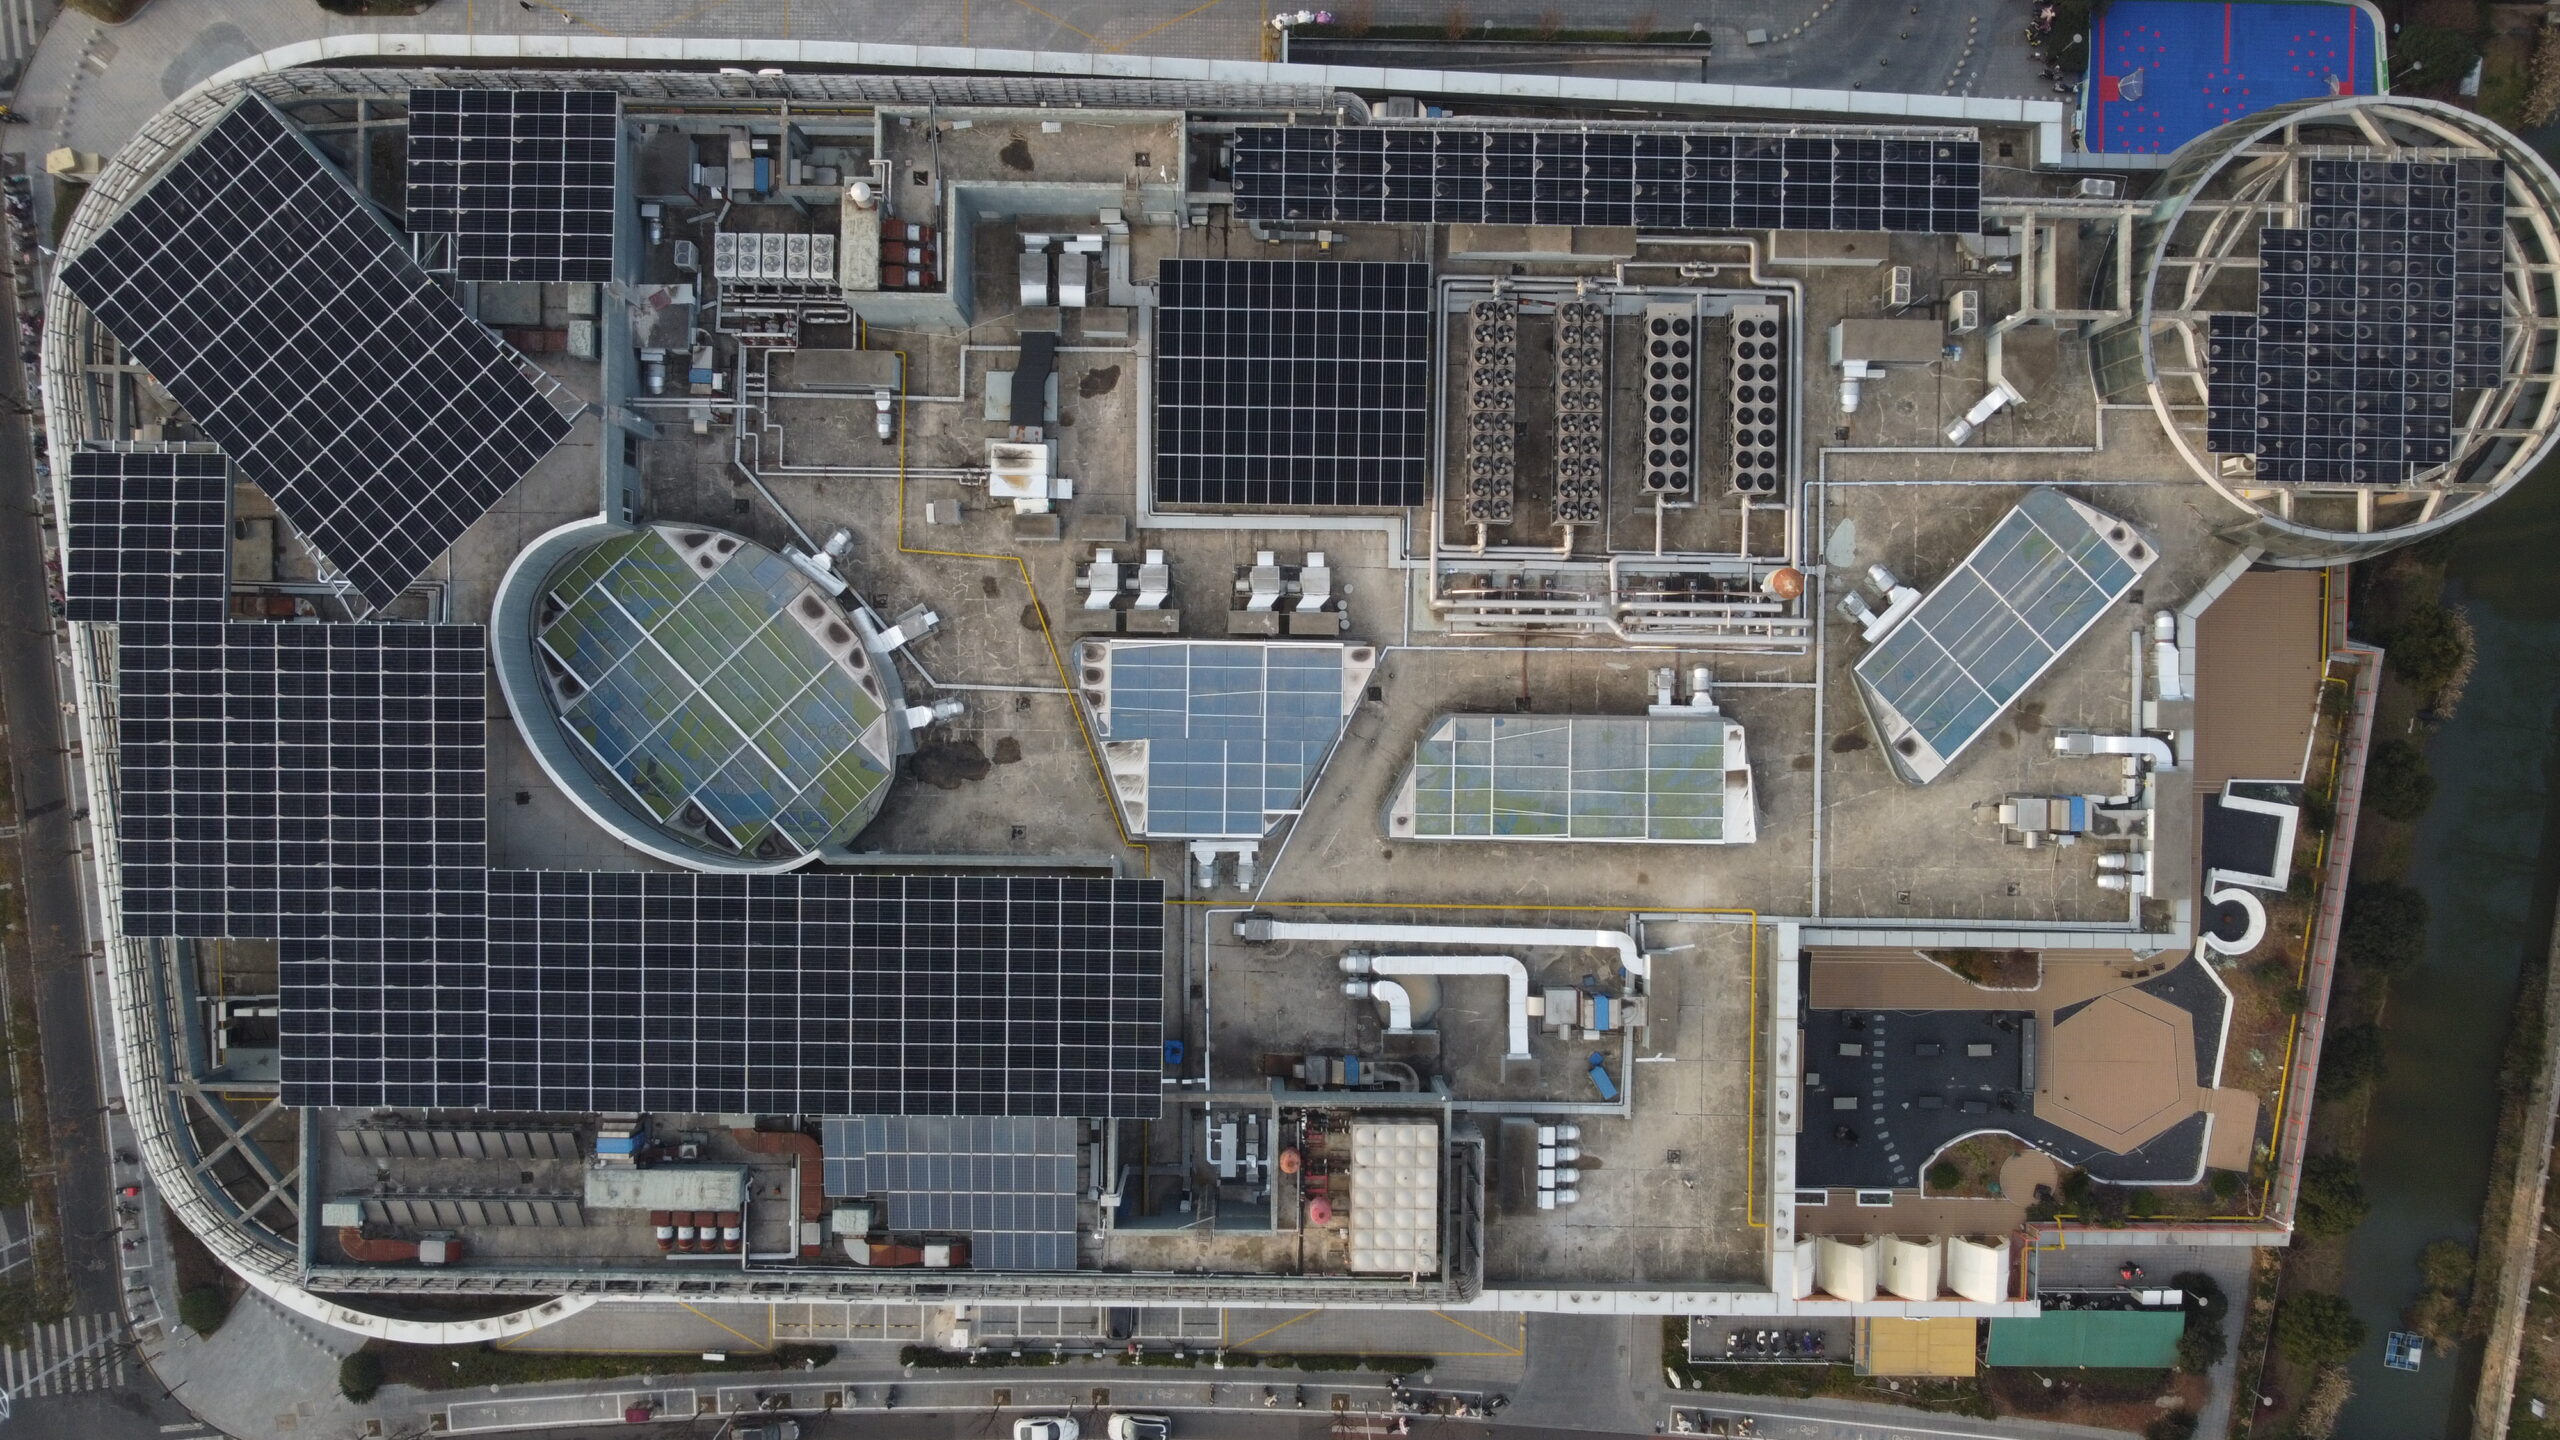
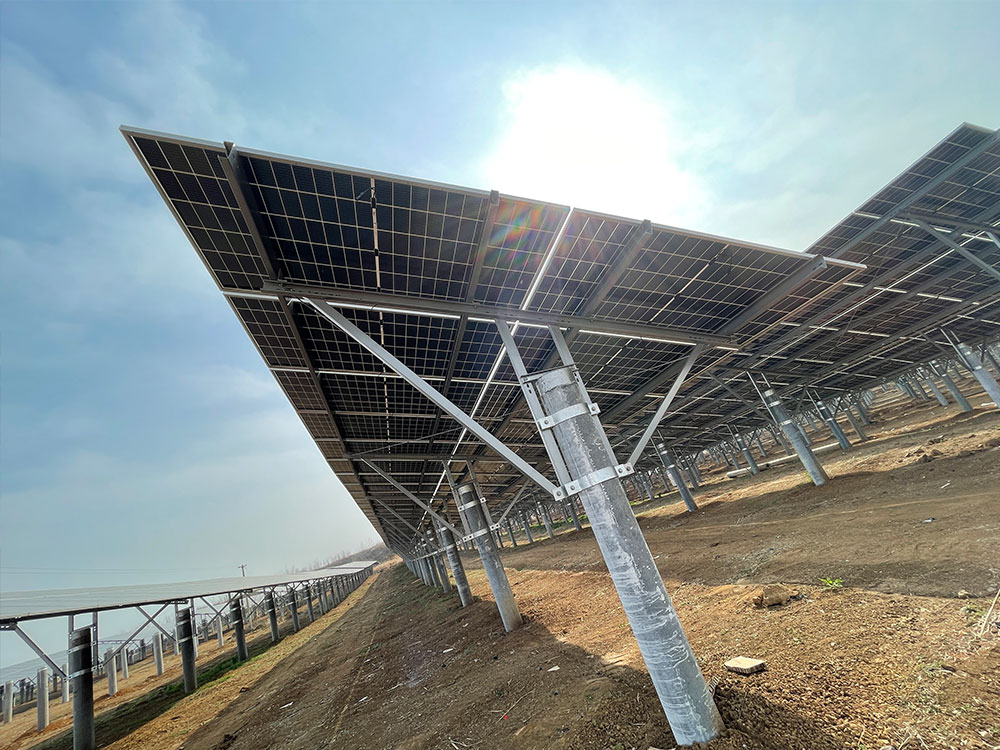
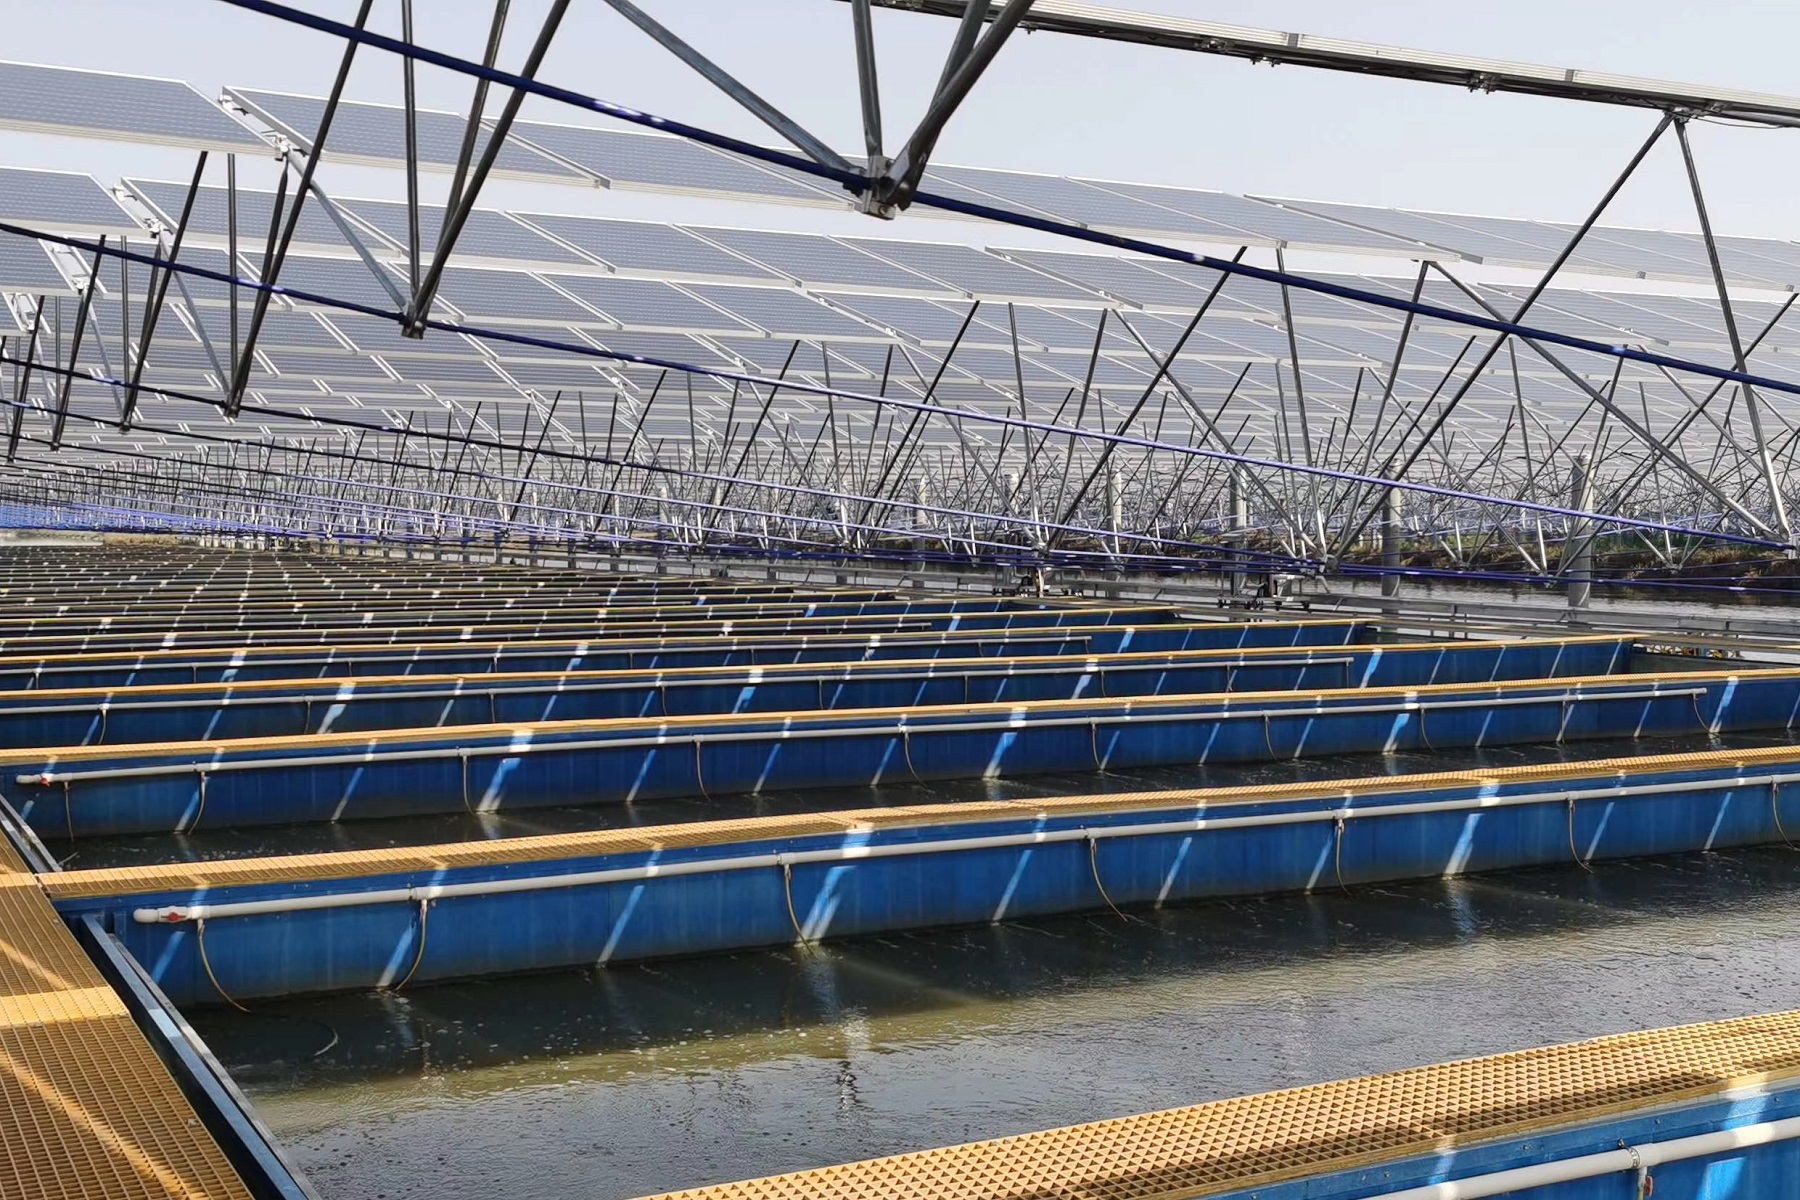
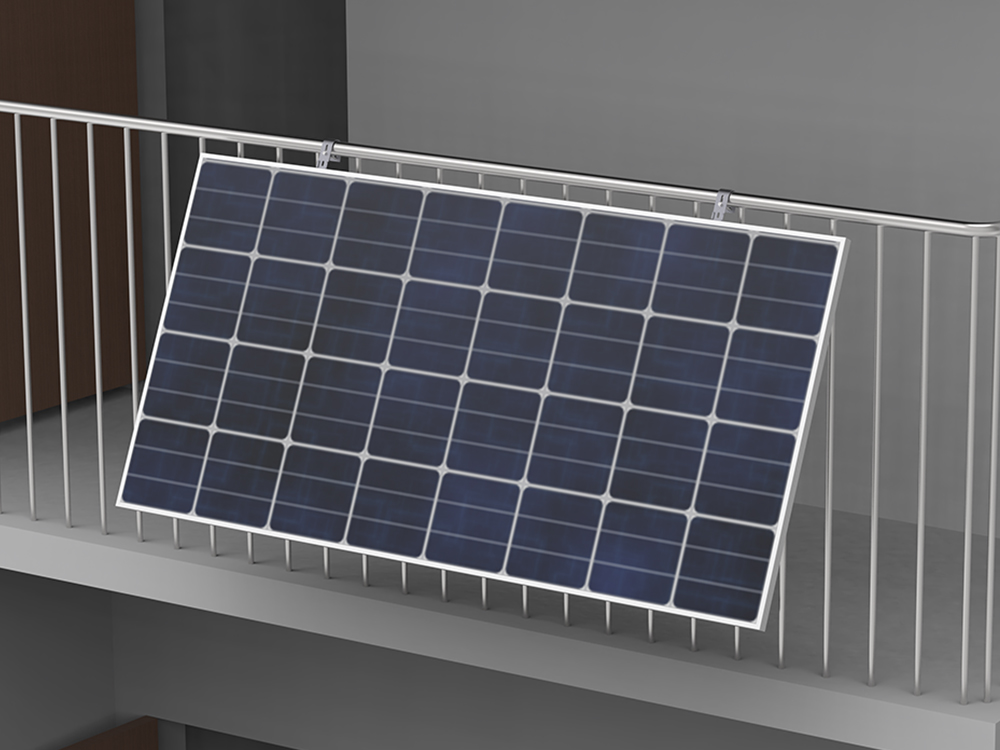
Thorough preparation is essential before commencing ground-mounted solar rack installation. First, conduct a comprehensive site survey covering topography, geological conditions, and sunlight exposure. Select an area with ample, unobstructed sunlight exposure, featuring level and solid ground to ensure stable rack installation. Second, select the appropriate solar mount type and materials based on the actual site conditions and the design requirements of the solar power generation system. Common ground-mounted solar mounts include fixed mounts and adjustable mounts. Fixed mounts are simple to install and cost-effective, suitable for areas with minimal variation in sunlight angles. Adjustable mounts can be modified according to seasonal changes and variations in the sun’s altitude angle to enhance power generation efficiency, but they involve relatively complex installation and higher costs. Additionally, prepare all necessary installation tools and equipment, such as electric drills, wrenches, spirit levels, and measuring instruments. Ensure these tools are in good working condition for smooth operation during installation.
II. Installation Steps
(1) Foundation Construction
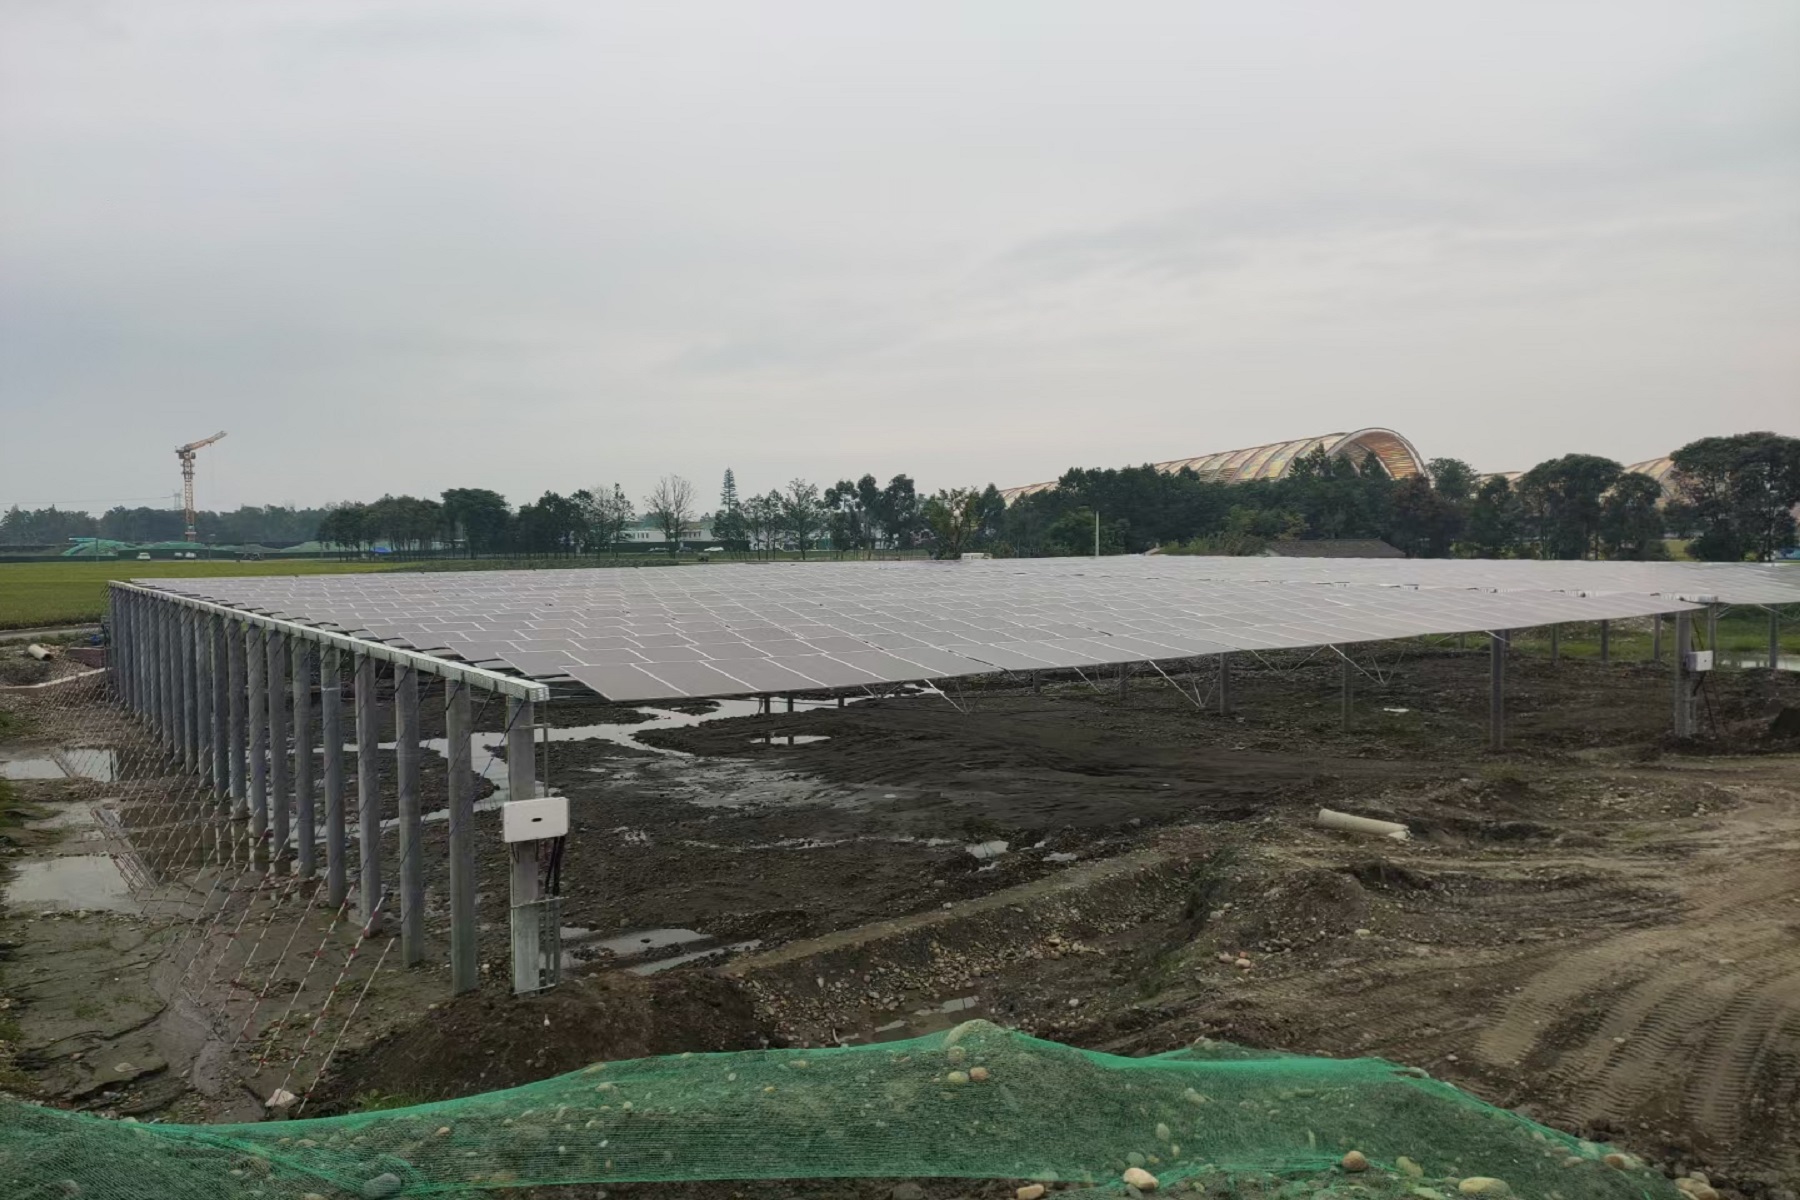
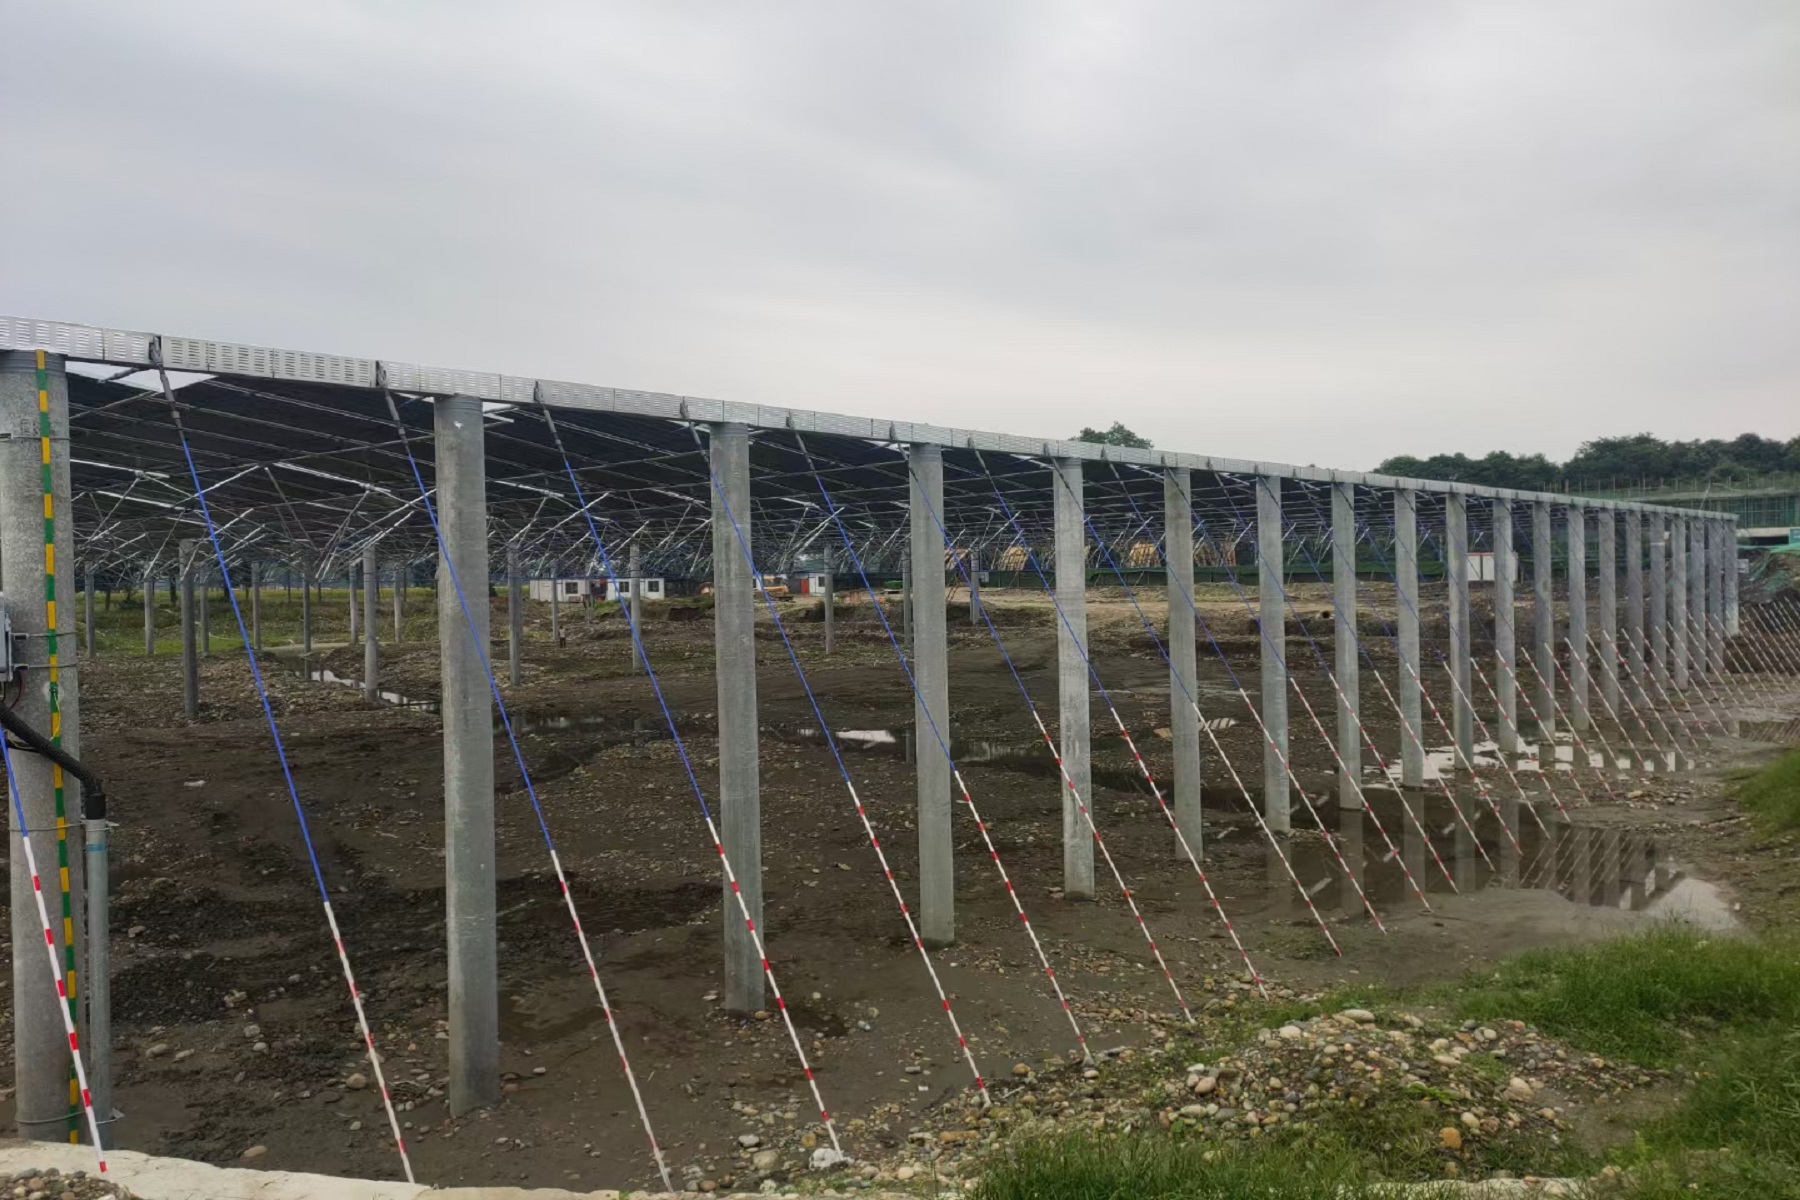
Foundation construction for ground-mounted solar racks is a critical phase of the entire installation process. The foundation method varies depending on the rack type and site conditions. For fixed mounts, concrete foundations are typically used. First, determine the foundation location and dimensions according to design specifications. Then excavate the foundation pit to a depth of approximately 0.5–1 meter, with the exact depth determined by geological conditions and mount height. Pour concrete into the foundation pit, ensuring its strength grade meets design requirements (typically no less than C20). Embed anchor bolts or expansion bolts into the concrete to secure the mount columns. During concrete pouring, ensure thorough compaction to guarantee foundation quality. For adjustable supports, alternatives to concrete foundations include precast foundations or steel structures, which offer advantages like faster construction and easier installation. The choice depends on specific project conditions.
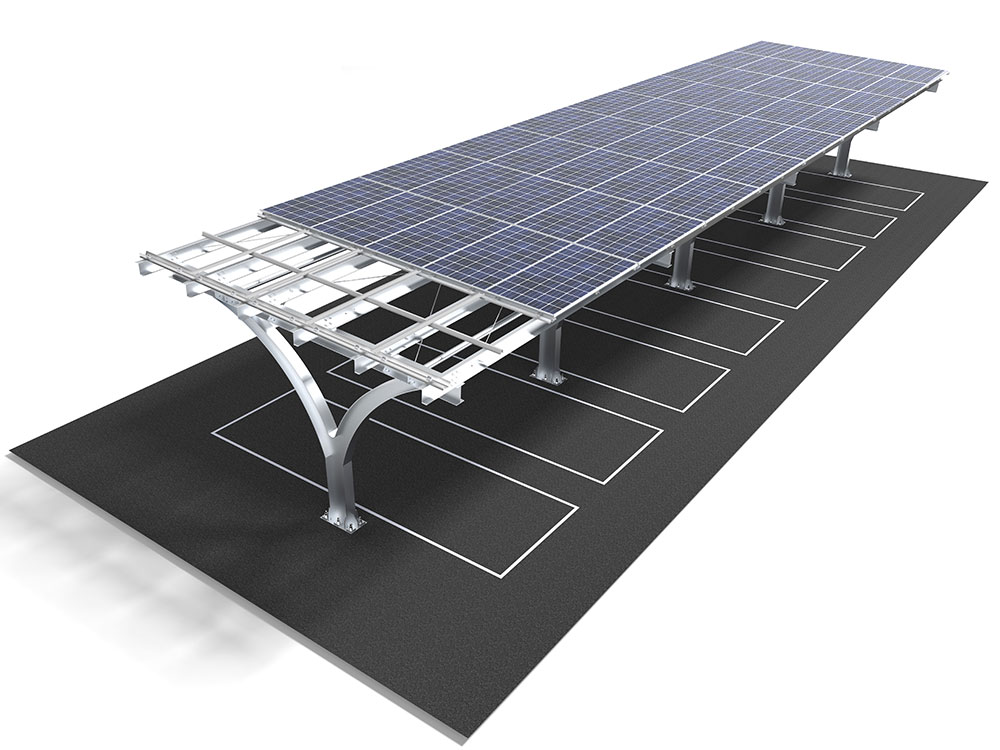
(2) Support Installation
After foundation completion, proceed with support installation. First, mount the support columns onto the foundation and use a level to adjust their verticality, ensuring vertical deviation remains within the permissible range—generally not exceeding 1/1000 of the column height. Next, install components such as crossbeams and braces according to design drawings, ensuring secure and stable connections. During installation, use appropriate fasteners such as bolts and nuts, tightening them to specified torque values to prevent loosening. For adjustable supports, install control mechanisms like electric actuators or hydraulic cylinders and perform commissioning tests to verify proper operation and angle adjustment capability.
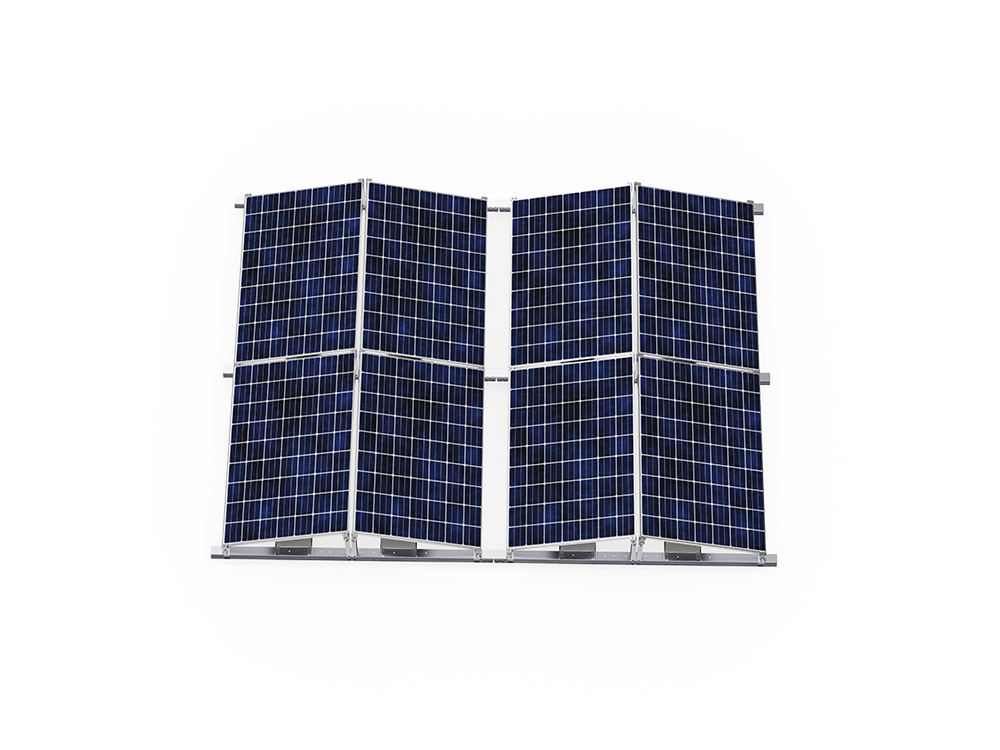
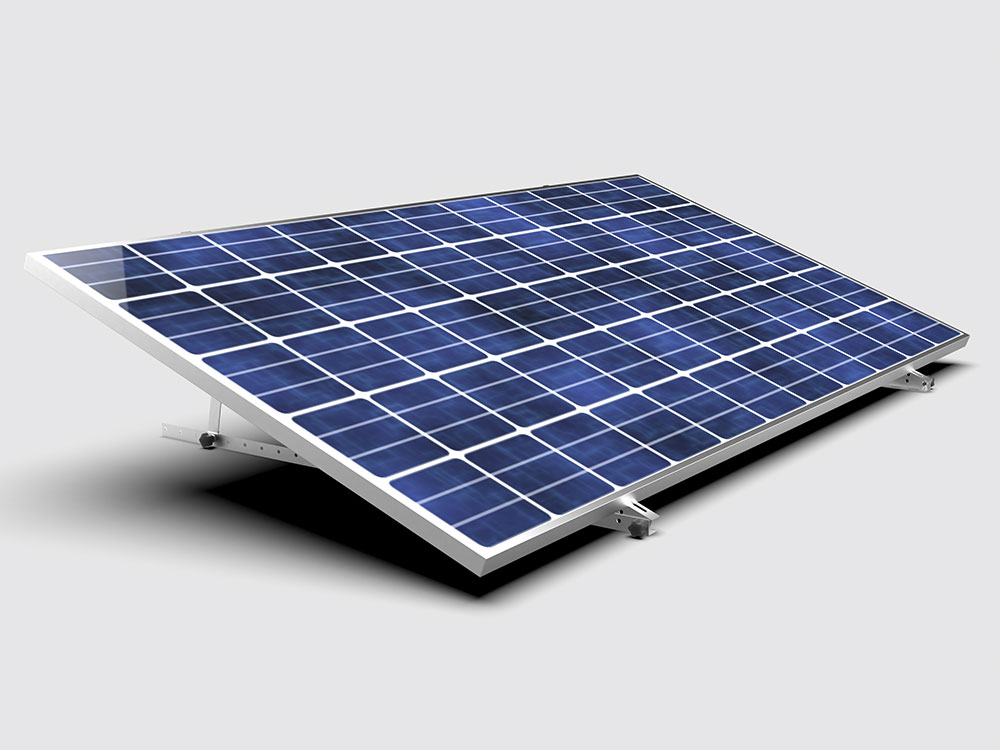
(3) Solar Panel Installation
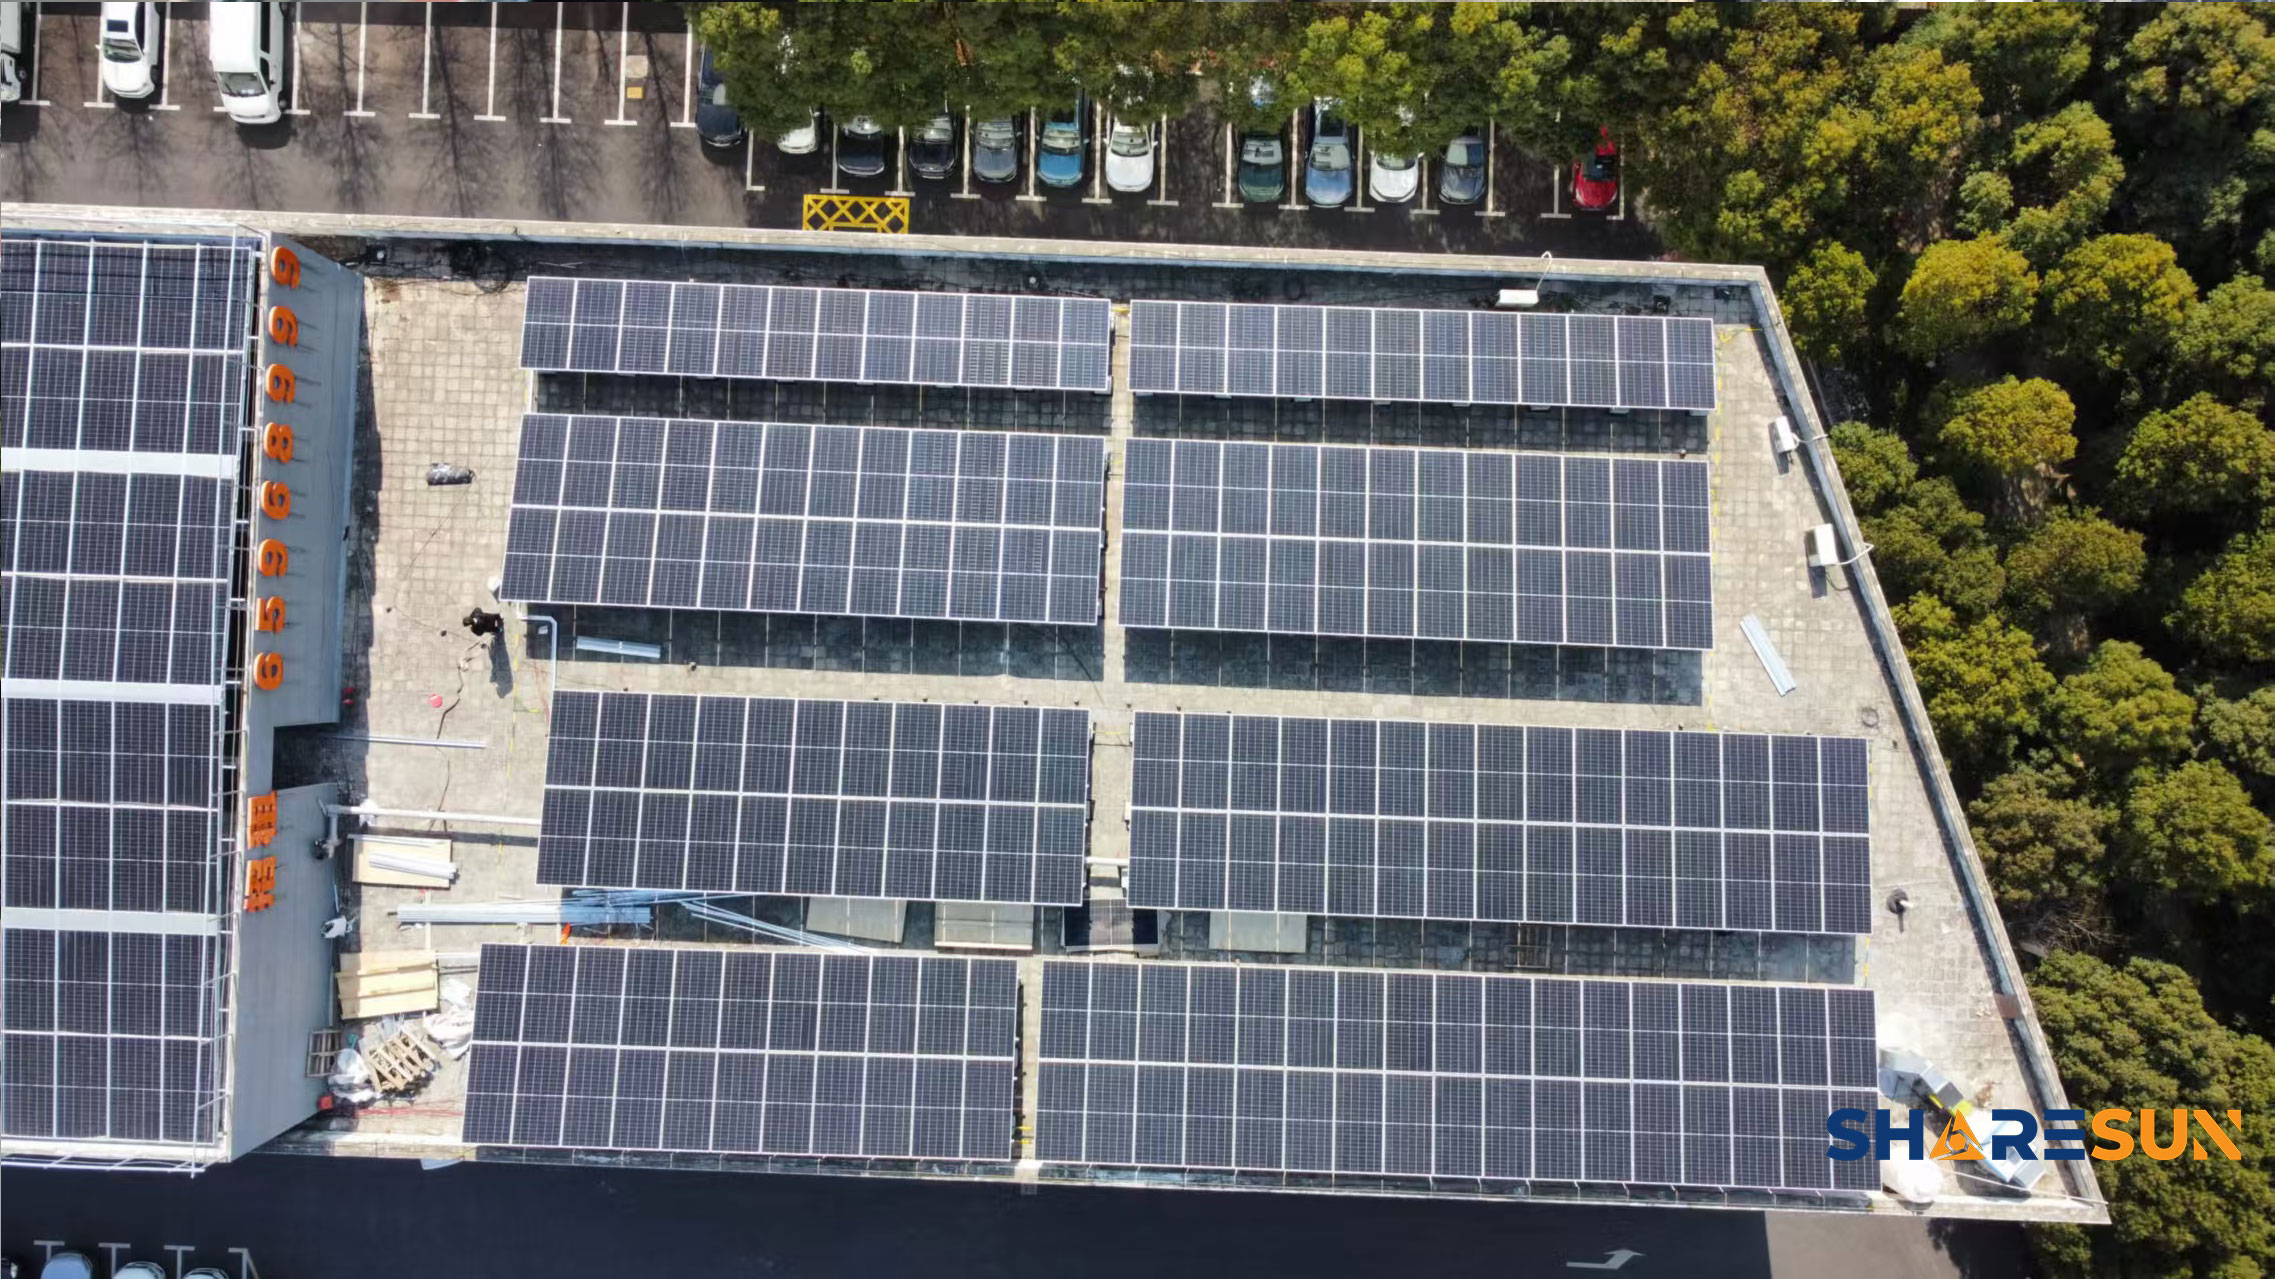
After completing the mounting structure installation, proceed with installing the solar panels. Prior to installation, inspect each panel to ensure no visible damage or cracks and that electrical performance is satisfactory. During installation, place the solar panels onto the mounting structure and secure them using clamps or fasteners. During installation, maintain proper spacing between modules to ensure adequate airflow and prevent overheating that could reduce power generation efficiency. Pay close attention to electrical connections, stringing or paralleling modules according to design specifications while ensuring secure and reliable connections. Use appropriate electrical connectors such as MC4 plugs, and implement waterproofing and dustproofing measures to prevent electrical failures.
(4) Electrical System Installation
After completing the solar panel installation, proceed with the electrical system setup. First, install the solar inverter in a well-ventilated location shielded from direct sunlight, ensuring easy access for operation and maintenance. Next, connect the output cables from the solar panels to the inverter’s input terminals. Configure and commission the inverter according to its manual. Throughout electrical installation, prioritize electrical safety by ensuring proper grounding of all equipment. Grounding resistance must meet relevant standards, typically not exceeding 4 ohms. Pay attention to cable routing: cables should be laid in trenches or cable trays and clearly labeled for future maintenance and inspection.
III. Post-Installation Inspection and Maintenance
Upon completion, conduct a comprehensive inspection and debugging of the entire solar power generation system to ensure proper operation. First, verify the mounting structure’s installation quality, including column verticality, beam and brace connection integrity, and overall stability and reliability. Next, verify the installation quality of the solar panels, including their secure mounting and electrical connections, to ensure proper functionality. Additionally, inspect the electrical system installation, covering cable routing and grounding of electrical equipment, to guarantee safety and reliability. Any issues identified during inspection must be promptly addressed and rectified to maintain system integrity.
Beyond post-installation checks, regular maintenance is essential. For ground-mounted solar racks, regularly inspect connection components for looseness or damage. Tighten or replace any problematic parts promptly. Simultaneously, regularly clean dust and debris from the surface of solar panels to maintain optimal sunlight exposure and enhance power generation efficiency. For the electrical system, periodically check the operational status of equipment like inverters and cables to promptly identify and address electrical faults, ensuring safe and stable system operation.
Installing ground-mounted solar racks is a systematic endeavor requiring strict adherence to installation procedures and specifications, with careful attention to various details throughout the process. Only by doing so can the stable operation of the solar power generation system be ensured, maximizing power generation efficiency to provide clean, renewable energy for our daily lives and industrial production. We hope this guide proves helpful. Should you encounter any issues during installation, feel free to consult professionals at any time.