Traditional mounting systems often struggle to adapt to rugged, hilly, or barren landscapes when building solar power plants. Solutions typically involve extensive land grading or face challenges with foundation construction and soaring costs.
This is where cable-supported structures emerge as a smart alternative.
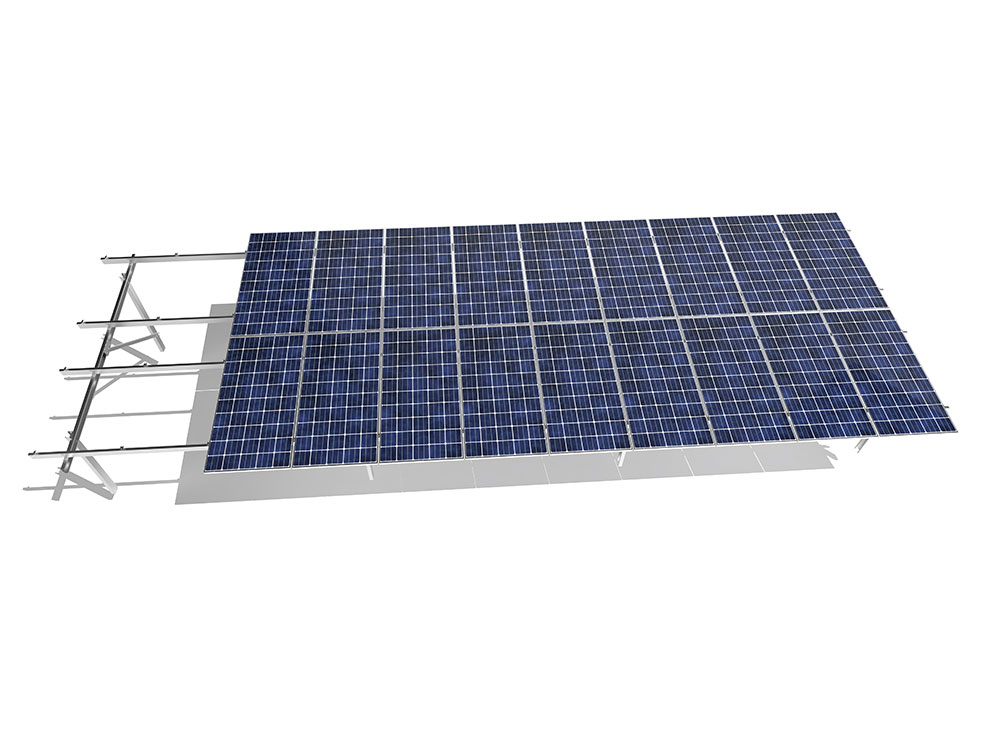
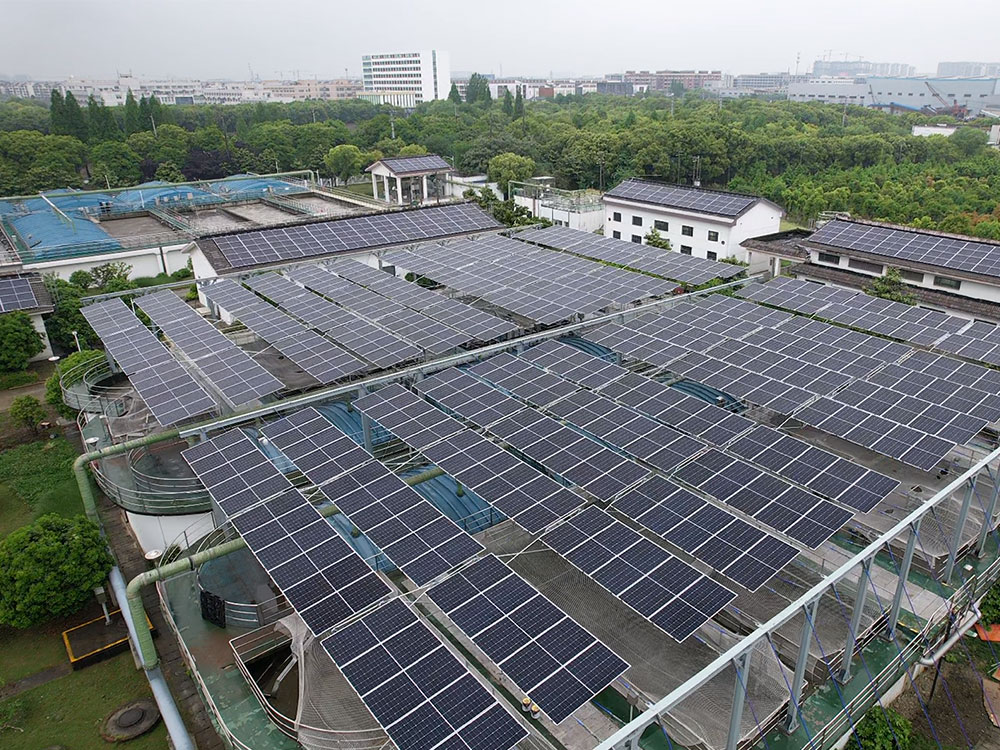
What are cable structures?Simply put, cable structures replace most steel components with high-tensile cables, suspending solar panels in the air much like a cable-stayed bridge. Anchored by columns at both ends, they require fewer intermediate support points, resulting in a lightweight yet robust overall structure.
How are they installed on complex terrain?
Step 1: Assess terrain and determine planFirst, evaluate slope gradients and topography on-site. For slopes between 10-20 degrees, conventional fixed mounts suffice. However, slopes exceeding 20 degrees or uneven terrain with pits and trenches highlight the cable structure’s advantages. Engineers will determine column placement and tensioning methods based on actual conditions, minimizing excavation and filling by utilizing existing terrain.
Step 2: Laying Foundations and Erecting ColumnsPour concrete foundations at selected points and install steel columns. Here lies the advantage of complex terrain: instead of piling beneath every slab, just a few columns at key points—like the slope’s ends and midpoints—suffice, reducing foundation work by 70-80%. Column heights can be adjusted on-site to accommodate ground elevation changes.
Step 3: Cable TensioningAnchor prestressed steel cables to the end columns and tension them using specialized equipment. This process resembles tuning a cello—precision is key. Once tensioned, the cables form a stable load-bearing “track.” Given mountainous winds, additional wind-resistant and stabilizing cables are typically added for enhanced structural integrity.
Step 4: Mounting Solar PanelsFinally, solar panels are secured to the cables. Workers install specialized clamps along the cables, hanging panels one by one and adjusting for levelness. This method handles spans from 10 to 60 meters in a single operation, while allowing normal planting or grazing below.
Why is it better for complex terrain?
Cost and labor savings: Uses over 10% less steel than traditional racks, reducing steel costs by 30%-50%. Construction is faster, requiring minimal heavy machinery—most work is done manually, shortening project timelines by about 40%.
High Adaptability: Suitable for pits, slopes, and rocky terrain without land leveling. Single spans reach 20–60 meters or more, easily crossing ditches and uneven ground for efficient land utilization.
Environmentally Friendly: Minimal foundations cause little surface disruption, allowing vegetation to thrive. Elevated structures permit continued farming or livestock grazing beneath, enabling agrivoltaic or aquavoltaic integration.
Safe and Reliable: Pre-stressed cables offer superior flexibility and enhanced wind/earthquake resistance. Designed to withstand Category 12 winds, they incorporate stabilizing cables and wind-resistant panels to minimize vibration.
What to Consider During Installation?
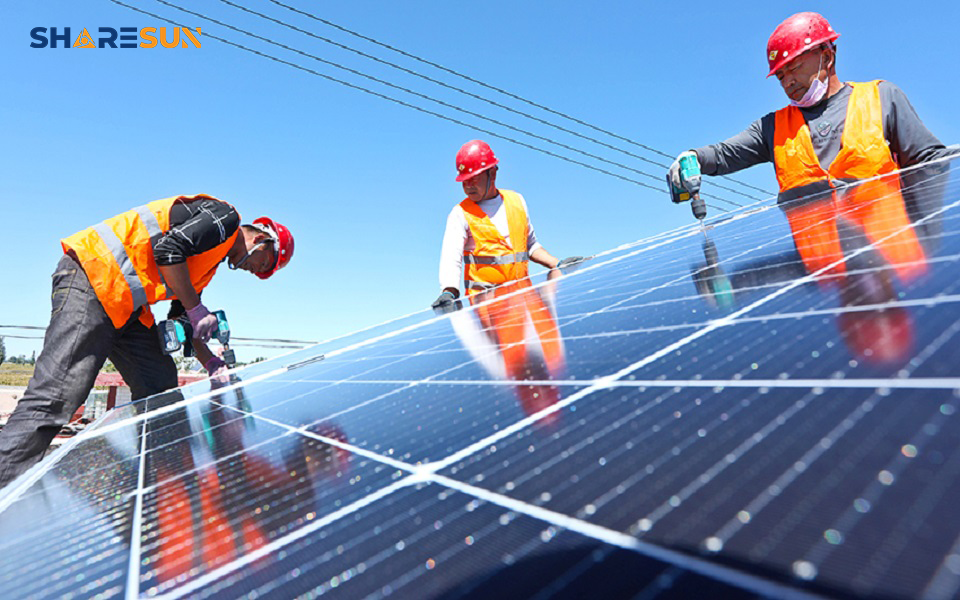
Hire Professional Teams: Cable structures demand precise prestressing control—tension force and sequence are critical. Engage experienced contractors.
Ensure Corrosion Protection: In humid mountainous areas, use weather-resistant steel cables with hot-dip galvanization. Conduct regular inspections.
Maintain Access Pathways: Though ground-level farming is possible, reserve maintenance corridors for future panel cleaning and repairs.
Ensure solid foundations: Complex mountainous geology requires foundation designs that resist slippage and overturning.
Conduct geological surveys when necessary.For solar installations in challenging terrain, cable-supported structures offer tailor-made solutions. They minimize earthwork, significantly reduce costs, and protect ecosystems. As the technology matures, these lightweight supports are increasingly visible on mountainsides, waterfronts, and barren slopes.